

Offline Mode requires a Pro plan. Running
kipmox: Set Up Offline Mode on a Free plan will show an upgrade prompt.Requirements
Setup
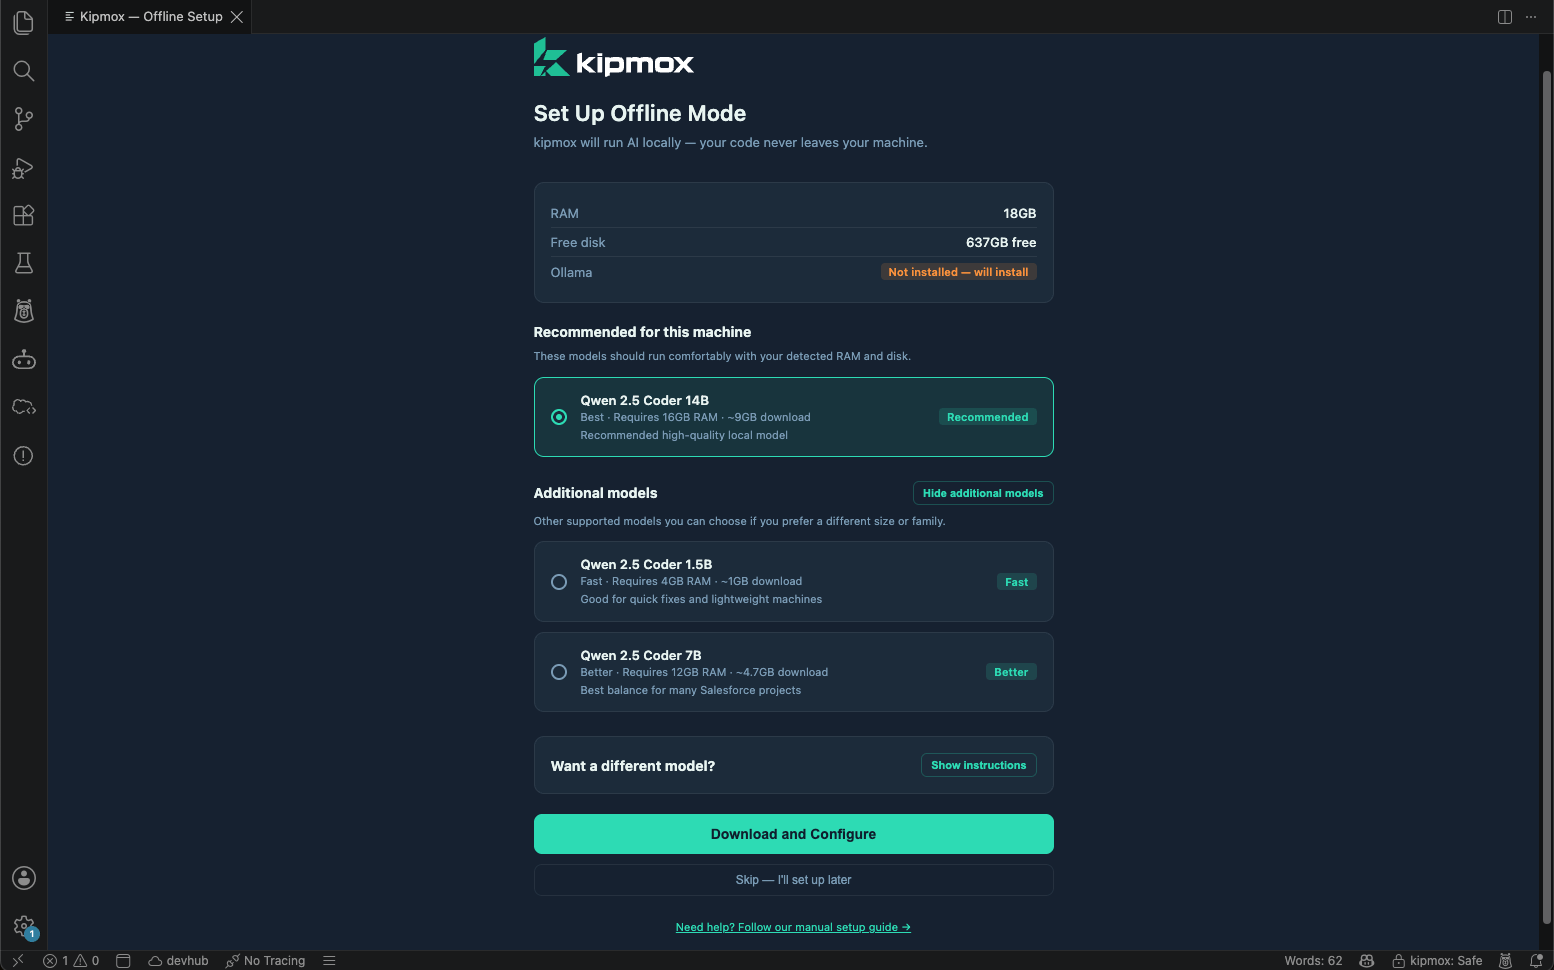
Run the guided setup from the Command Palette: kipmox: Set Up Offline Mode The setup wizard opens and checks your system automatically.Step 1 — System check
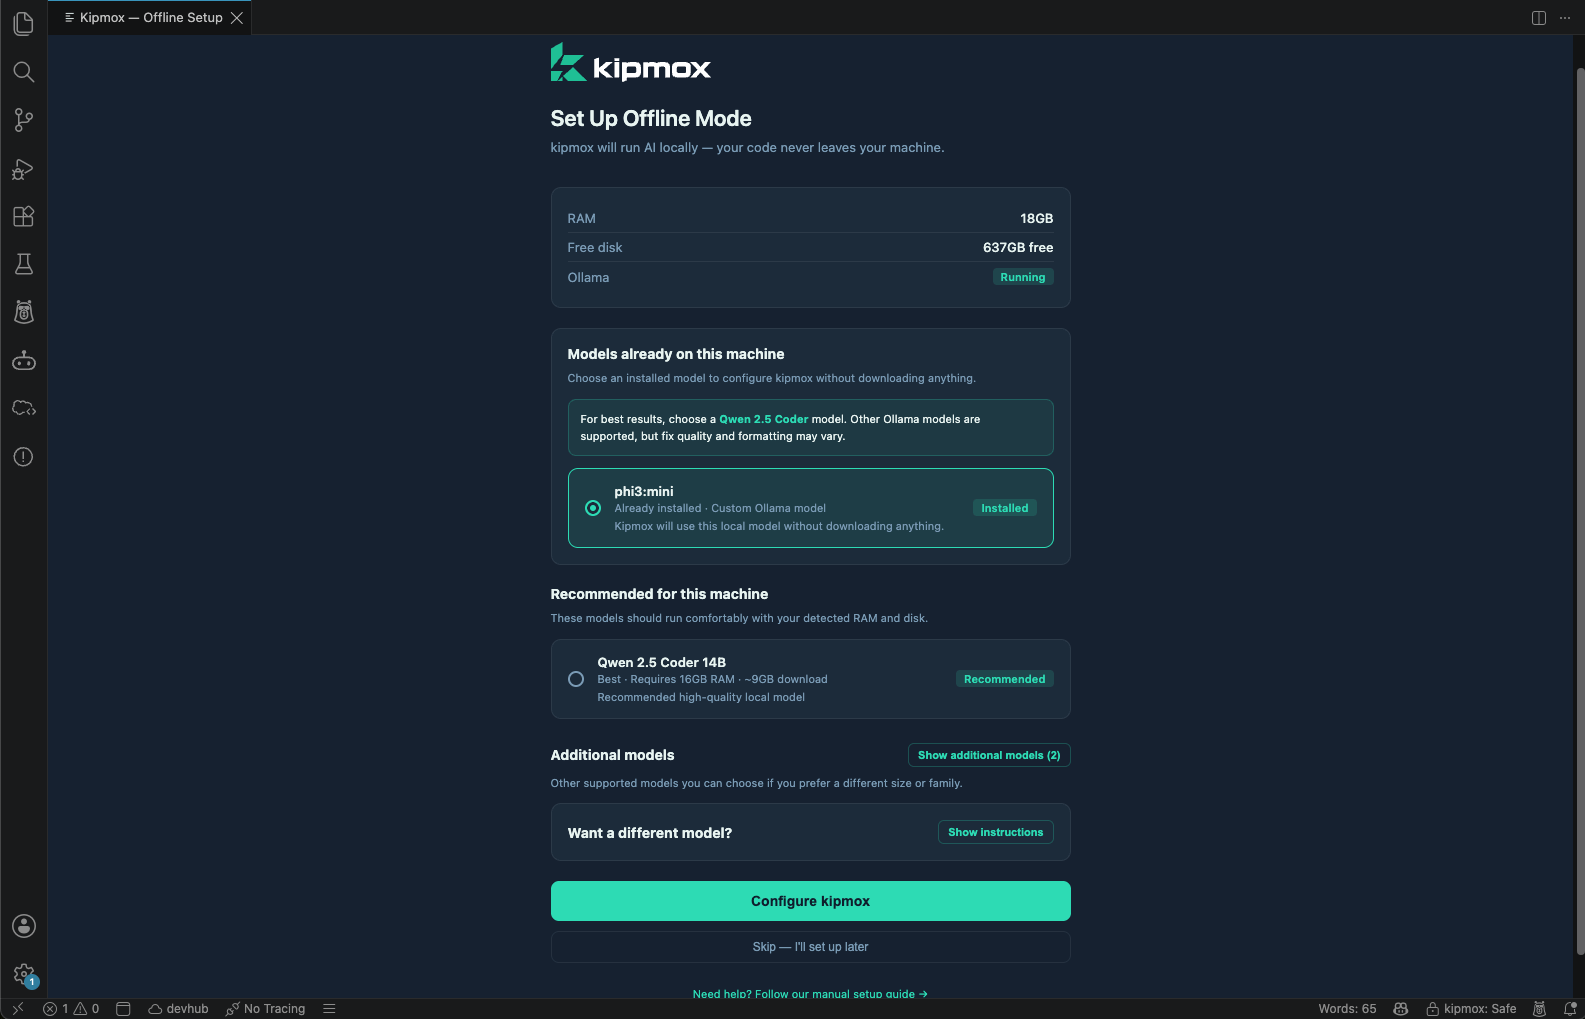
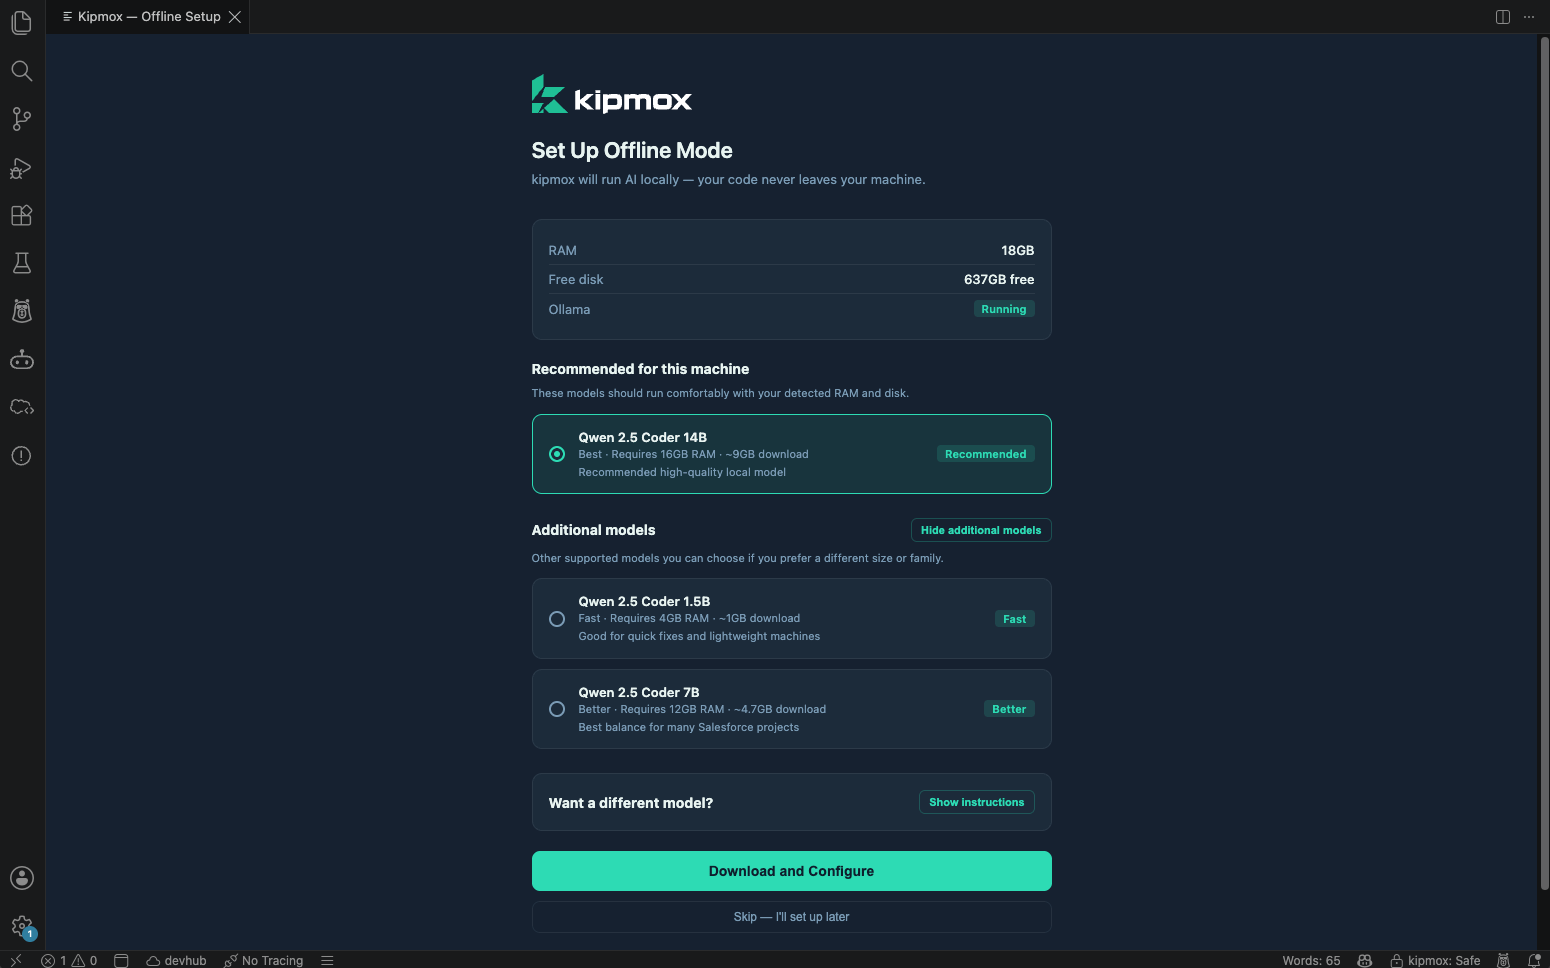
kipmox scans your machine and shows your available RAM, free disk space, and Ollama status. The wizard handles three scenarios automatically: Ollama not installed: Ollama will be installed automatically during setup. Choose the AI model that best matches your hardware. Ollama installed, compatible model found: kipmox detects your existing model and proceeds directly to configuration. Click Configure kipmox to continue. Ollama installed, no compatible model: kipmox detects Ollama but no suitable model. Choose a model to download and click Download and Configure. When choosing a model, select based on your available RAM:
kipmox automatically selects the recommended model based on your available RAM.
Step 2 — Installation and download
kipmox handles everything automatically with a live progress screen:- Installing Ollama — installs the local AI runtime (skipped if already installed)
- Downloading AI model — downloads your selected model with a live progress percentage
- Configuring kipmox — connects kipmox to the local model
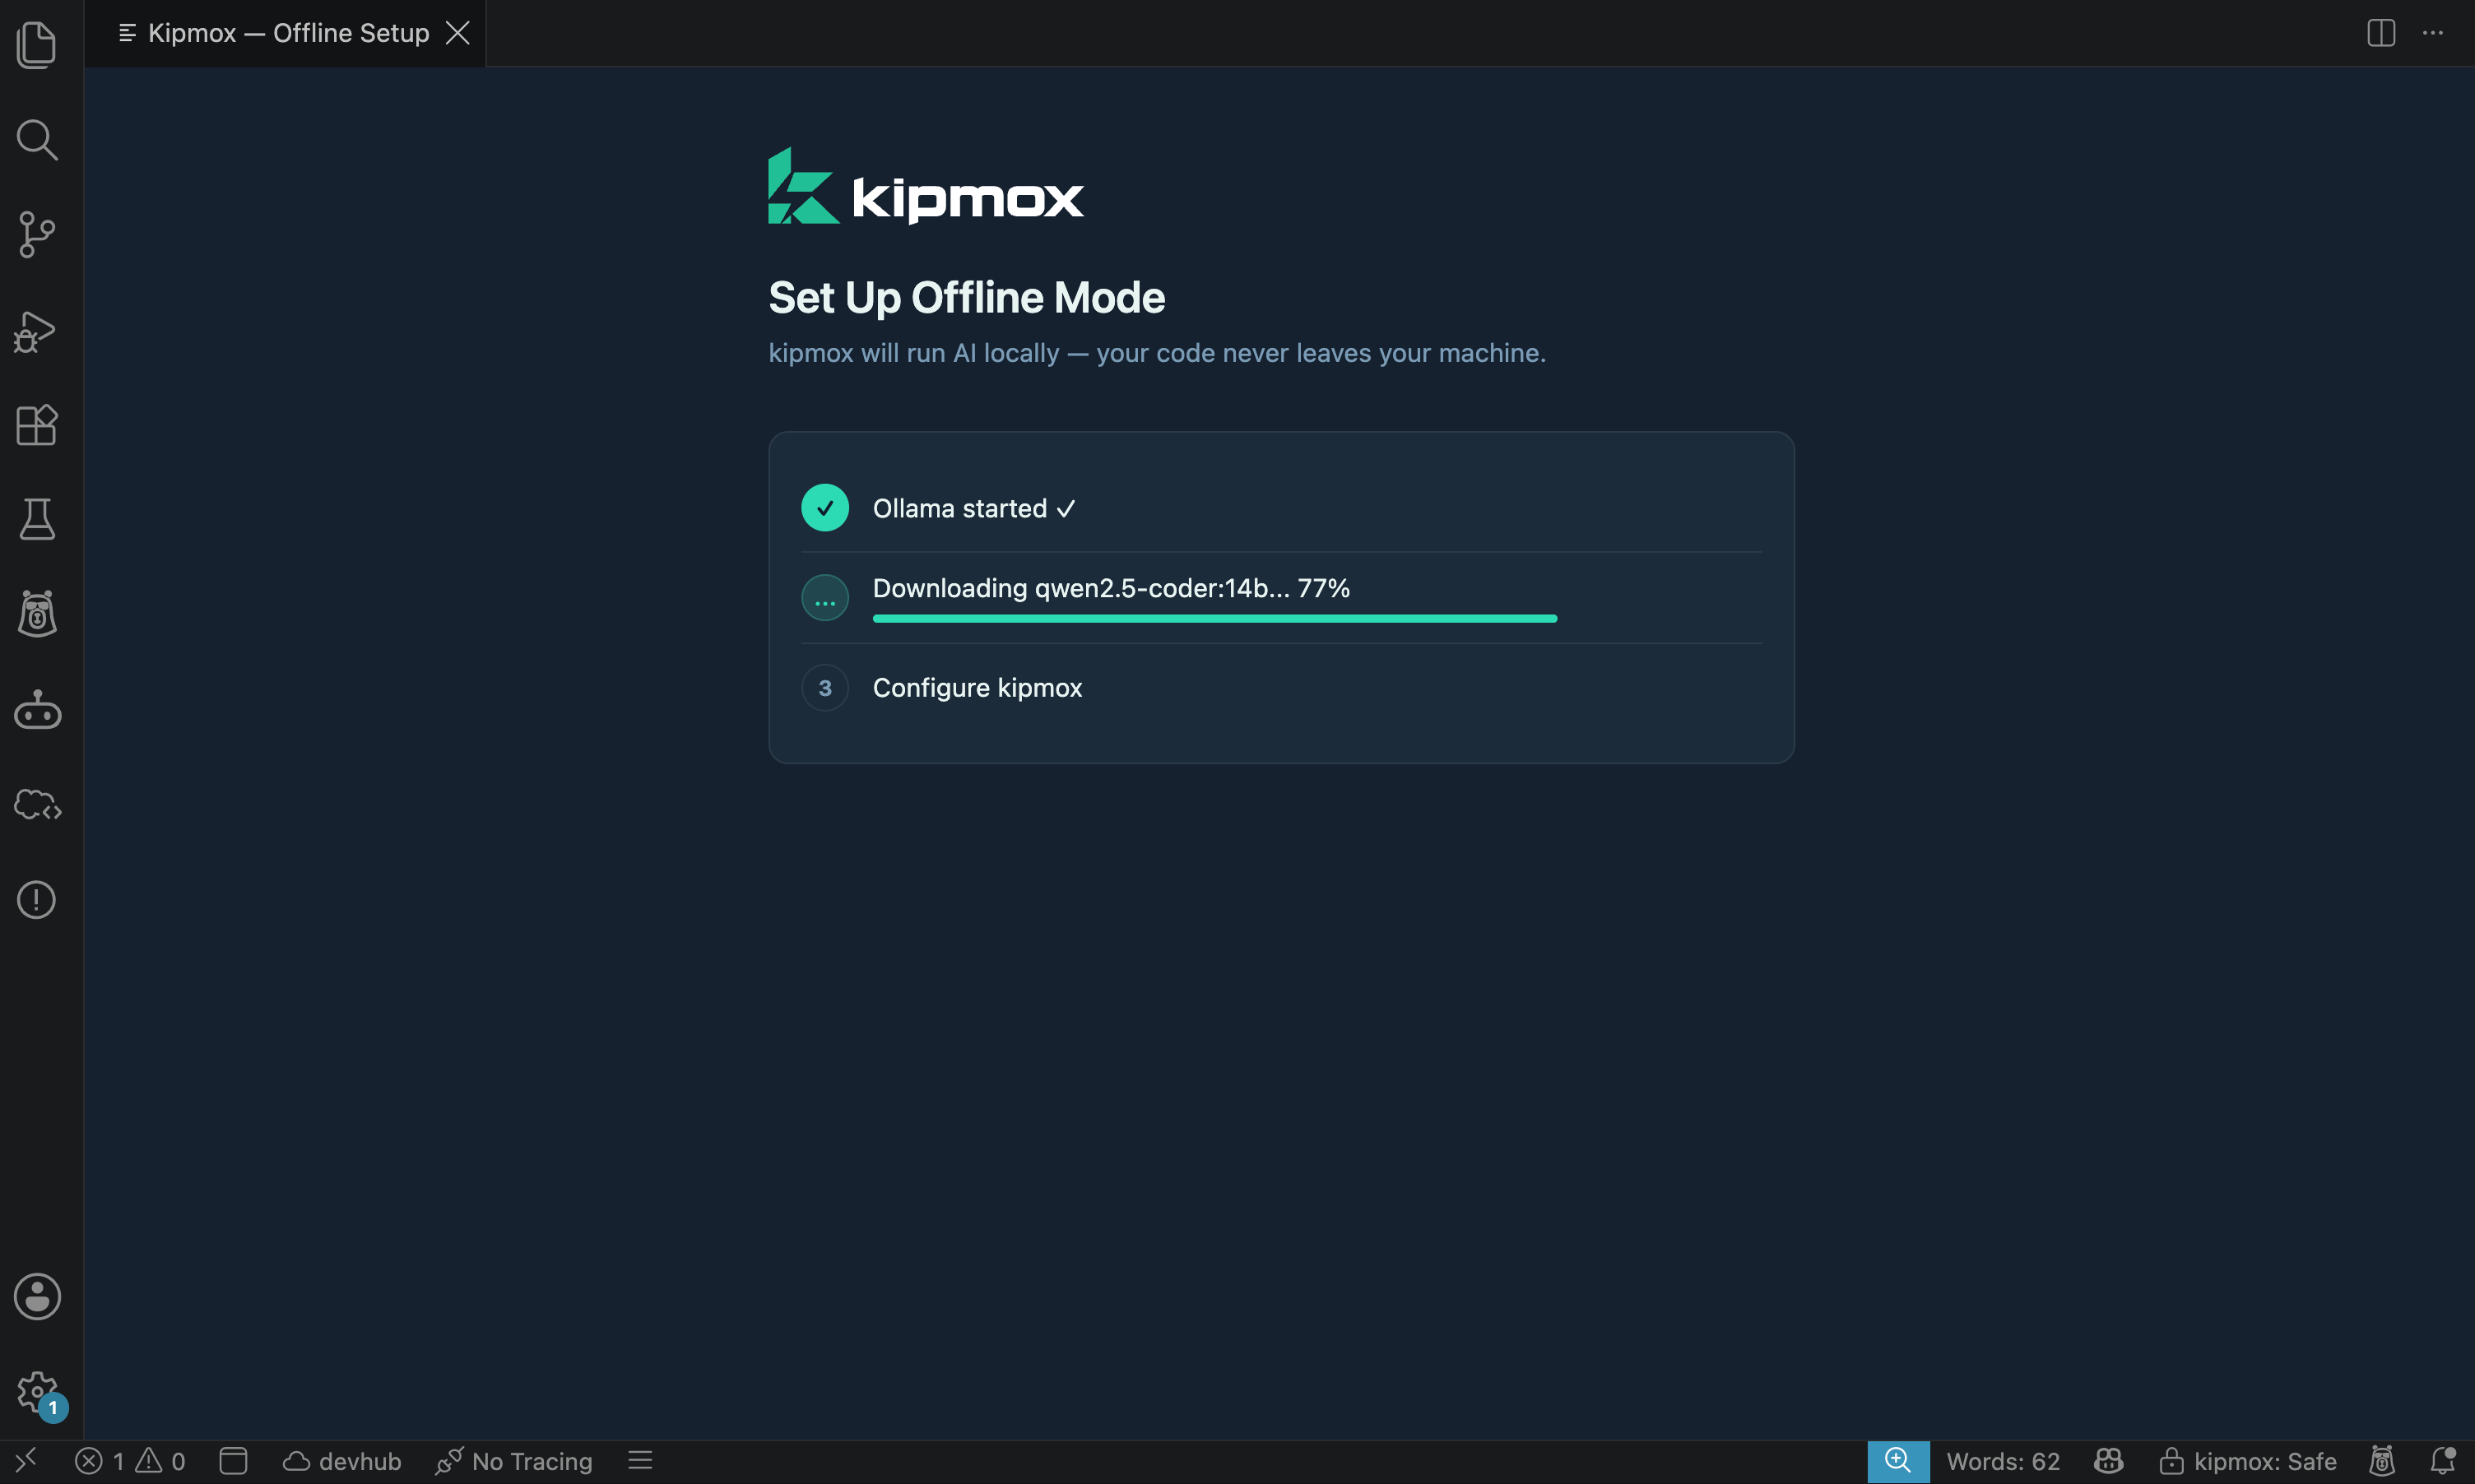
The 14B model is ~9GB and may take several minutes to over 30 minutes to download depending on your internet speed. Keep VS Code open during the download.
On Windows, you may see command windows briefly open and close while Ollama installs. This is normal. kipmox installs Ollama using winget, and winget shows the installer’s console window even during a silent install — a known winget behavior, not a problem with kipmox. Installing Ollama can take a few minutes, so please keep VS Code open, wait for it to finish, and don’t close those windows — they close on their own.
Step 3 — Complete
Once setup is complete, kipmox shows Offline Mode Ready!- Click Switch to Offline Mode to start using offline AI immediately
- Click Stay Online to keep using online mode and switch later
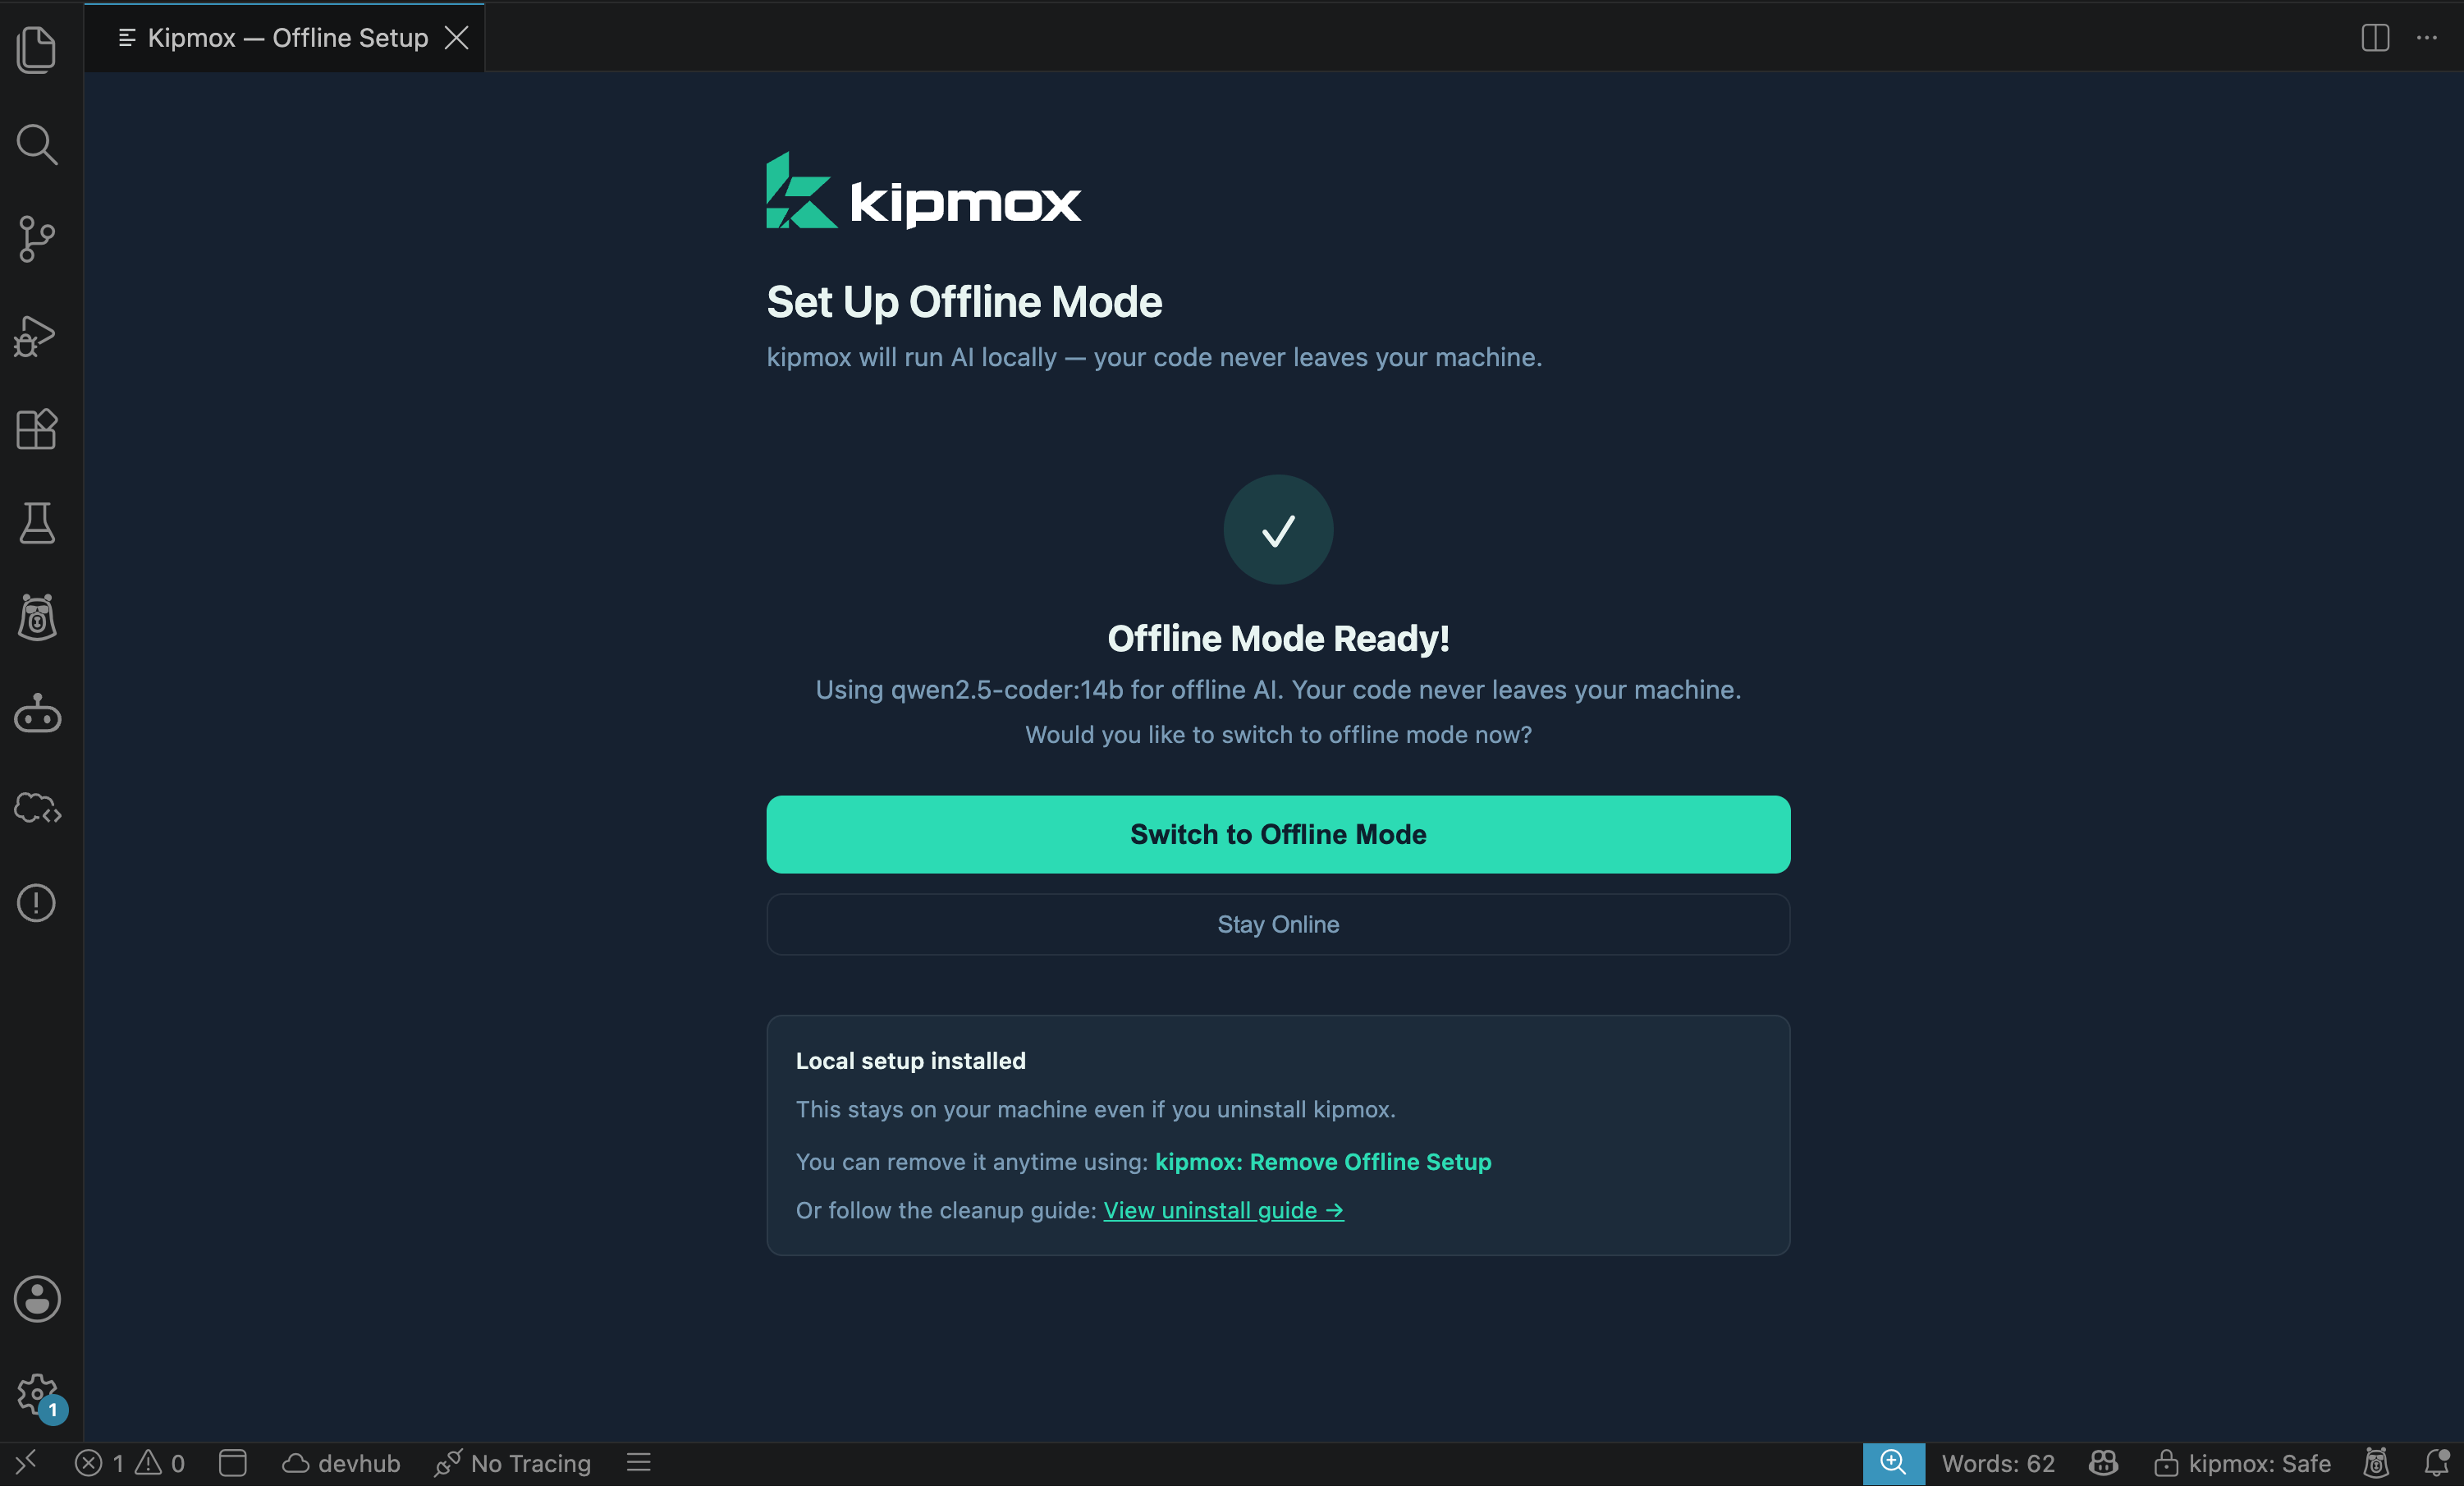
Once setup is complete, Ollama starts automatically on login. You don’t need to do anything to keep it running.
The local setup (Ollama and the AI model) stays on your machine even if you uninstall kipmox. Use
kipmox: Clean Up Offline Files to remove it when no longer needed.Manual setup (if the guided setup doesn’t work)
If kipmox: Set Up Offline Mode fails on your machine, you can set up Ollama and a model yourself, then point kipmox at it — you’ll end up in exactly the same place. You won’t be stuck.1. Install Ollama
- macOS
- Windows
- Download Ollama for macOS from ollama.com/download.
- Open the downloaded file, drag Ollama into your Applications folder, and launch it.
brew services start runs Ollama in the background and restarts it automatically on login. (A plain ollama serve also works, but only for as long as that terminal window stays open.) If Homebrew prints a “post-install step did not complete” warning, you can ignore it — the ollama command still works.2. Download a model
Pick a model that fits your RAM (see the table above), then pull it. These commands are the same on macOS and Windows:3. Point kipmox at it
With Ollama running and a model installed, do either:- Re-run the wizard — run kipmox: Set Up Offline Mode again. It now detects Ollama and your model, so you can click Configure kipmox.
- Set it manually — open VS Code Settings (
Cmd+,/Ctrl+,), search forkipmox, then:- Set kipmox: Offline Model to the exact tag you pulled (for example,
qwen2.5-coder:7b). - Set kipmox: Mode to
offline. - Run Developer: Reload Window from the Command Palette.
- Set kipmox: Offline Model to the exact tag you pulled (for example,
Switching between Online and Offline
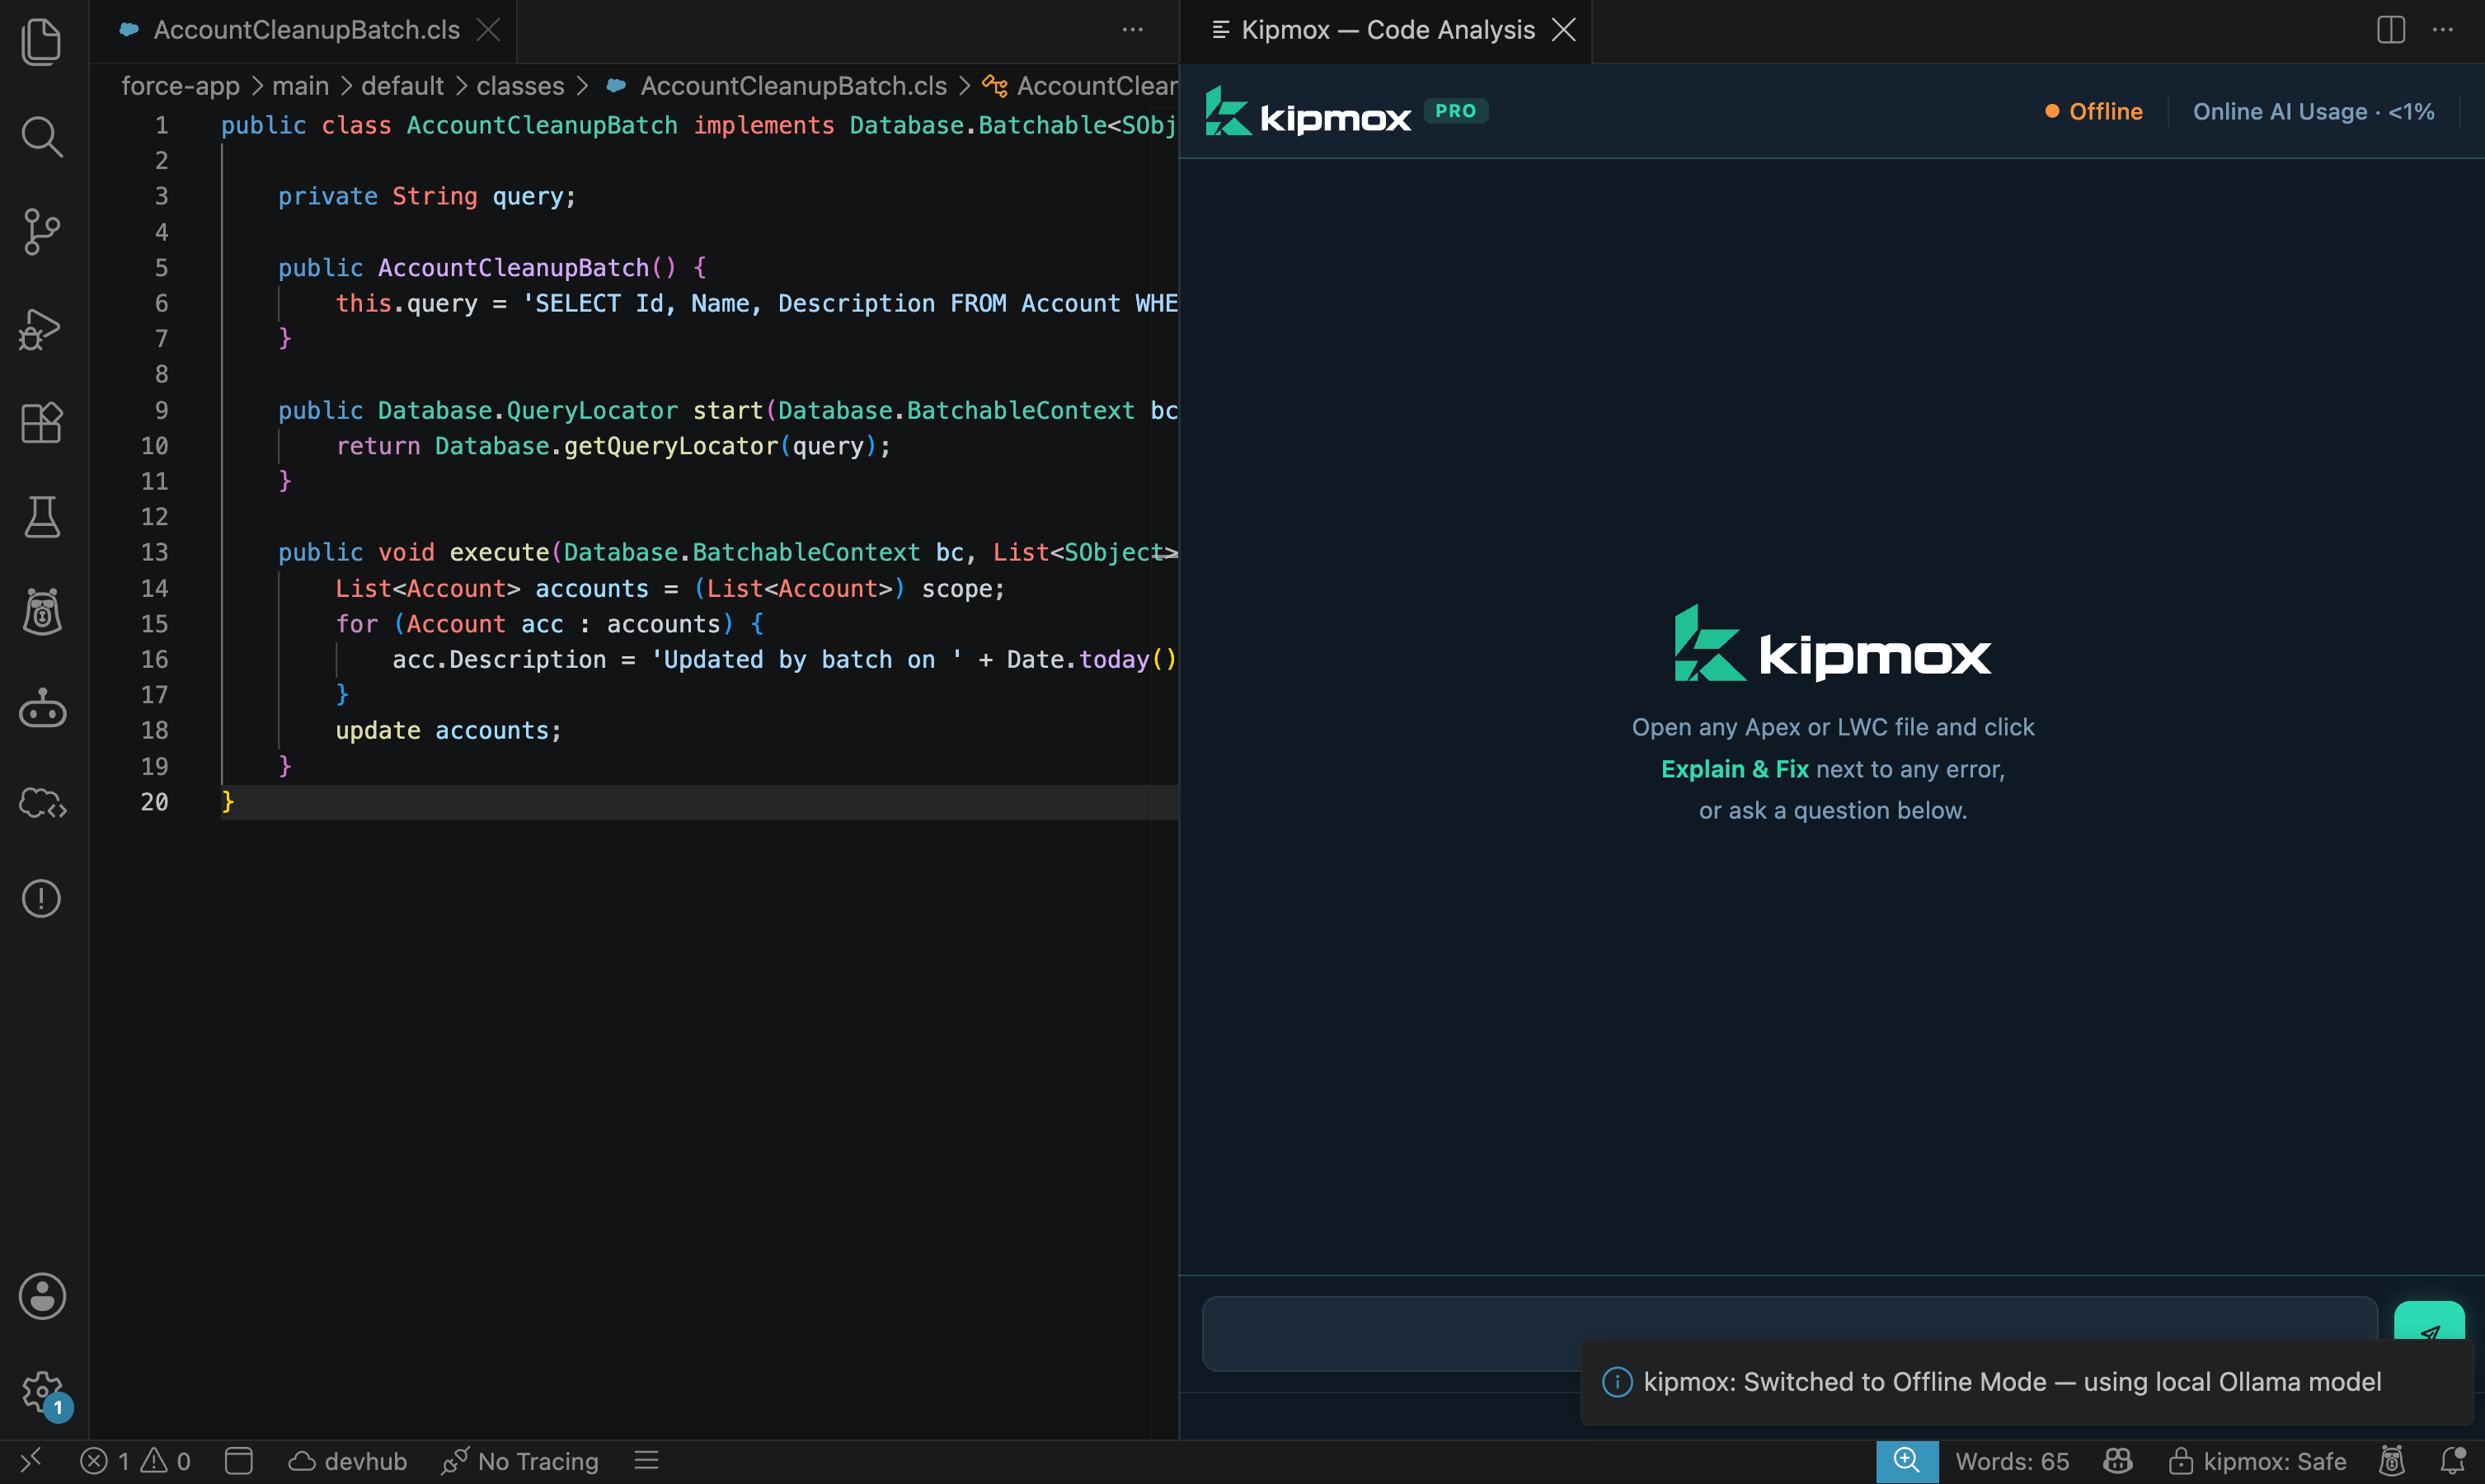
Once Offline Mode is set up, switch between modes instantly from the Command Palette: kipmox: Toggle Online / Offline Mode- Switching to Offline shows: “kipmox: Switched to Offline Mode — using local Ollama model”
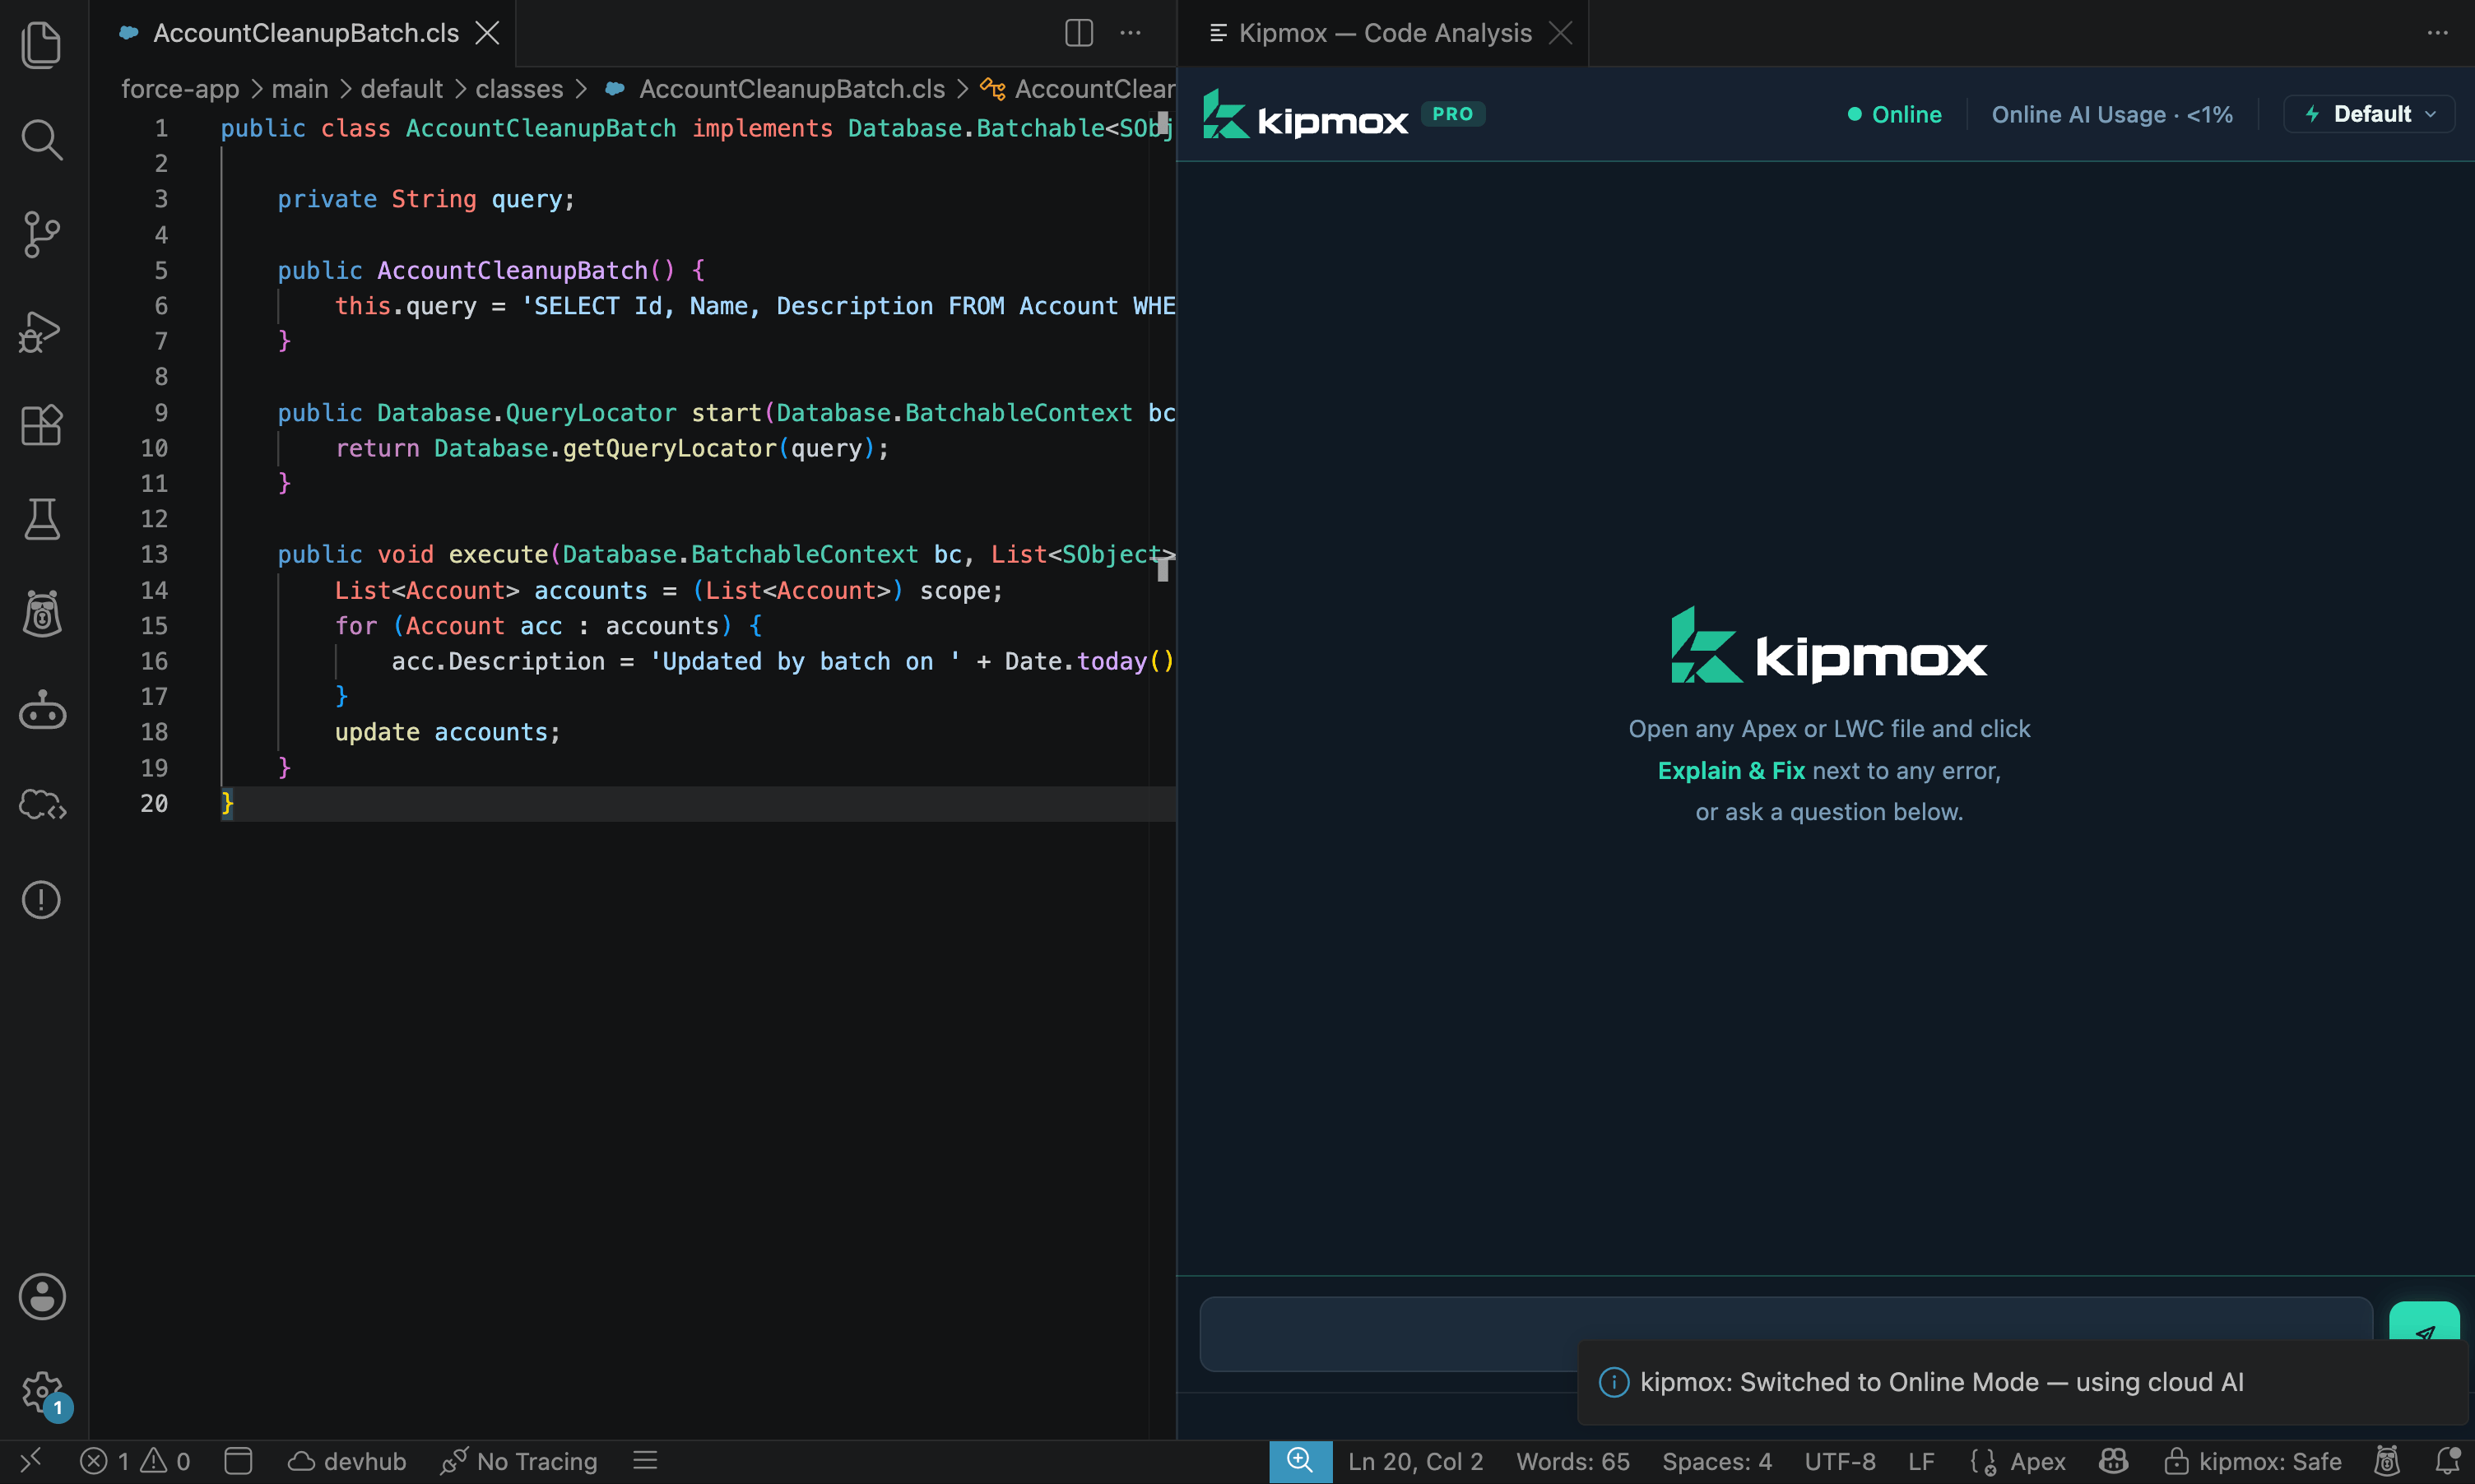
- Switching to Online shows: “kipmox: Switched to Online Mode — using cloud AI”
Cmd+, / Ctrl+,) — search for kipmox and change the kipmox: Mode dropdown between online and offline.
Removing Offline Mode
Run the cleanup command from the Command Palette: kipmox: Clean Up Offline Files A confirmation dialog appears asking what you want to remove.Remove model only
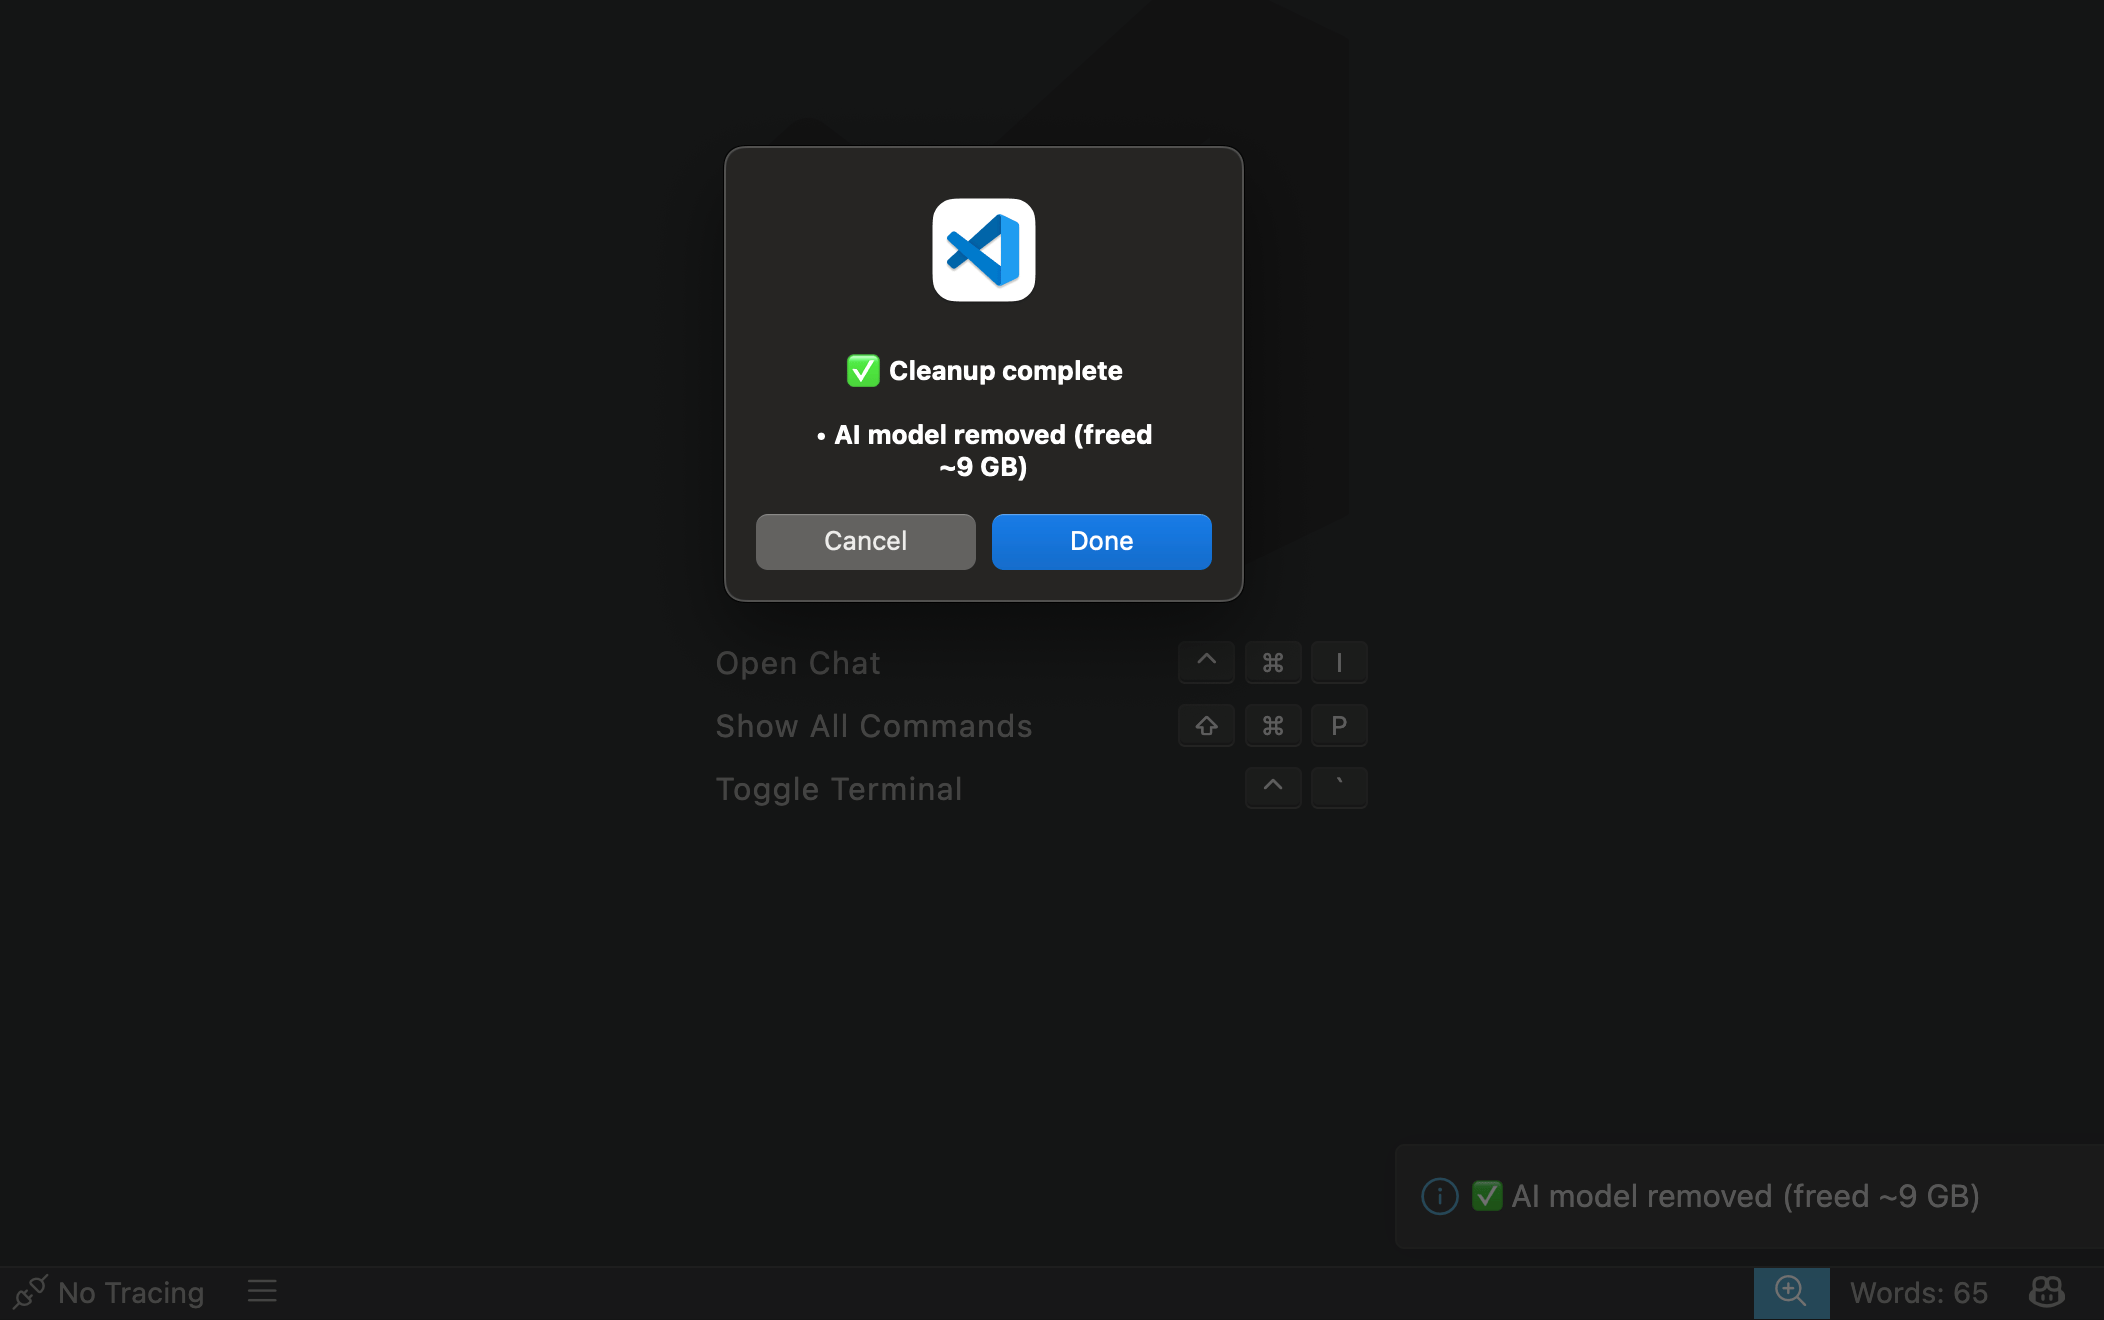
Removes the AI model (~9GB freed) but keeps Ollama on your machine. Choose this if you use Ollama for other tools or projects. Result:- ✅ AI model removed (freed ~9 GB)
- Ollama kept — still available for other tools
Remove model + Ollama
Removes both the AI model and Ollama from your machine completely.- First confirmation — lists the AI model to be removed and warns that other applications using Ollama will be affected. Click Remove model + Ollama to continue.
- Second confirmation — confirms Ollama removal specifically. You may be prompted for your system password — this is expected when uninstalling system applications.
- Cleanup complete — AI model removed and Ollama removed.
- ✅ AI model removed (freed ~9 GB)
- ✅ Ollama removed
Manual uninstall (if the cleanup command doesn’t work)
If kipmox: Clean Up Offline Files fails, remove the model and Ollama yourself. 1. Remove the model — list your models, then remove the one you used:- macOS
- Windows
If you installed Ollama via Homebrew (The
brew install ollama):--formula flag avoids a name clash with the ollama-app cask. If you have both Intel and Apple Silicon Homebrew, use the full path to the one that installed it (e.g. /usr/local/bin/brew for Intel, /opt/homebrew/bin/brew for Apple Silicon).If you installed the Ollama app (dragged into Applications):online in Settings.
Common issues
kipmox: Set Up Offline Mode shows an upgrade prompt
kipmox: Set Up Offline Mode shows an upgrade prompt
Offline Mode requires a Pro plan. Upgrade at kipmox.com to access Offline Mode.
Not enough disk space for the model
Not enough disk space for the model
The recommended 14B model requires ~9GB of free disk space. If you don’t have enough space:
- Choose the 7B model (4.7GB) or 1.5B Lite model (1GB) during setup
- Free up disk space and run
kipmox: Set Up Offline Modeagain
Not enough RAM for the recommended model
Not enough RAM for the recommended model
kipmox automatically selects the best model for your available RAM:
- 16GB RAM or more — Qwen 2.5 Coder 14B (best quality)
- 8GB RAM — Qwen 2.5 Coder 7B (great quality)
- 4GB RAM — Qwen 2.5 Coder 1.5B Lite (lightweight)
Model download stopped or is taking too long
Model download stopped or is taking too long
The model download requires a stable internet connection. If the download stalls:
- Keep VS Code open and wait — the download resumes automatically in most cases
- If it appears stuck for more than 10 minutes, close VS Code and run
kipmox: Set Up Offline Modeagain — the wizard will detect the partial download and resume
Ollama is installed but showing as not detected
Ollama is installed but showing as not detected
Run
kipmox: Set Up Offline Mode again — Ollama may not have been running when the wizard first scanned. The wizard will detect it on the next scan.Offline mode not working after setup
Offline mode not working after setup
- Check that kipmox: Mode is set to
offlinein VS Code Settings (Cmd+,/Ctrl+,) - Run Developer: Reload Window from the Command Palette and try again
- If the issue persists, run
kipmox: Clean Up Offline Filesand set up again
System password prompt appeared during cleanup — is this normal?
System password prompt appeared during cleanup — is this normal?
Yes — removing Ollama requires system-level permissions. The password prompt is expected when uninstalling system applications. Enter your login password to proceed.
I uninstalled kipmox but Ollama is still running on my machine
I uninstalled kipmox but Ollama is still running on my machine
The local setup (Ollama and the AI model) persists after uninstalling kipmox, and Ollama keeps auto-starting on login. To remove it: reinstall kipmox, run
kipmox: Clean Up Offline Files → Remove model + Ollama, then uninstall kipmox again — or follow the Manual uninstall section above.Safe Mode
Control when fixes are applied to your code
Privacy & FAQ
How kipmox handles your code and data in offline mode