

The two modes
Safe Mode
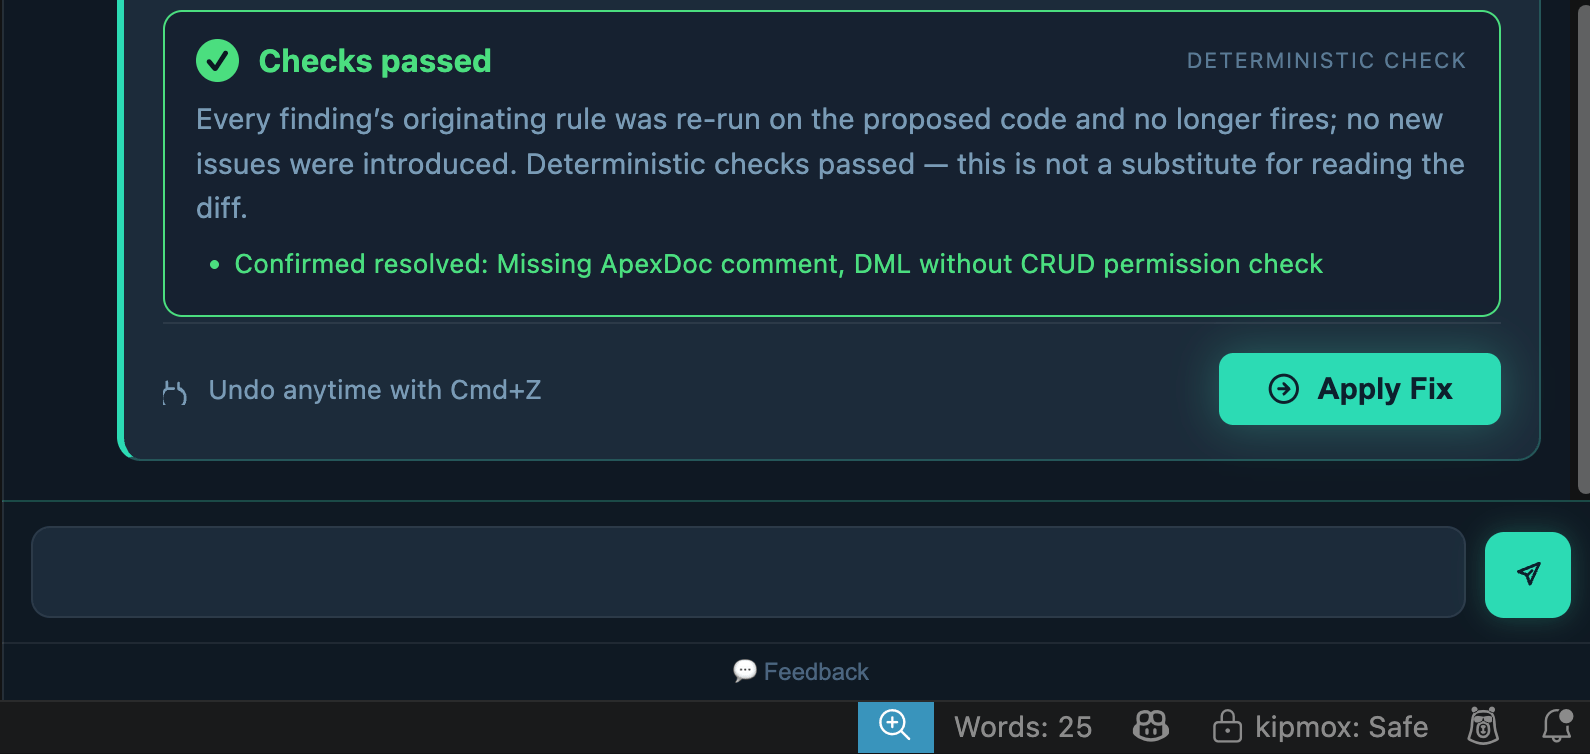
In Safe Mode, kipmox generates a fix and waits for you to review it before applying anything to your code. Deploy errors:- Click Analyze & Generate Fixes
- Review the Fixed Code, What Changed, and Confidence & Risk
- Click Apply Fix — the change applies and saves automatically, changed lines highlighted in green
- Not what you wanted? Click Undo Fix or press
Cmd+Z/Ctrl+Z
- Click kipmox: 💡 Explain & Fix on a flagged line
- Review the fix in the Code Analysis panel
- Click Apply Fix — the change applies and saves automatically
- Not what you wanted? Click Undo Fix or press
Cmd+Z/Ctrl+Z
Auto Fix Mode
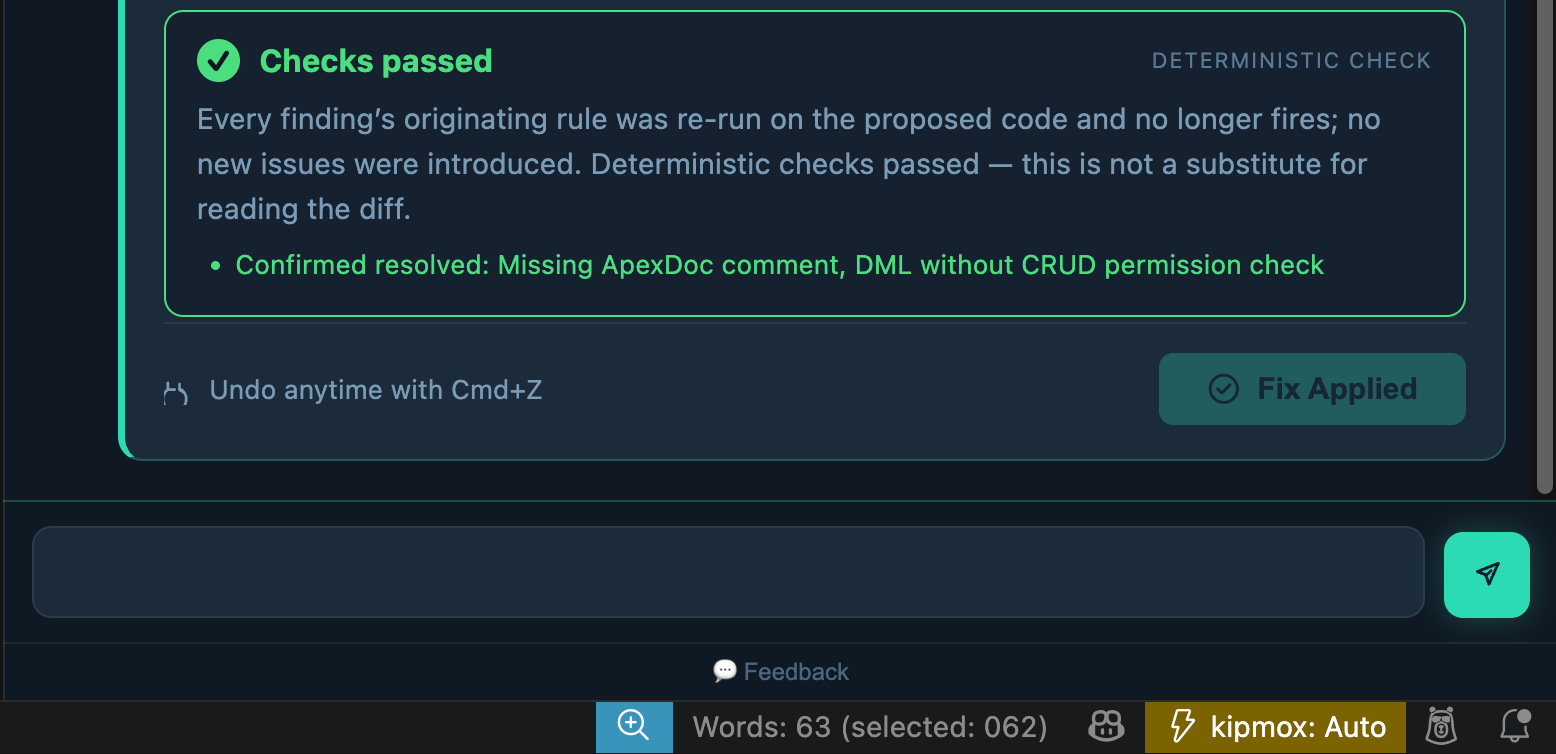
In Auto Fix Mode, kipmox generates and applies fixes automatically — the Apply Fix button is skipped. The change is saved automatically with changed lines highlighted in green; undo anytime. Deploy errors:- Click Analyze & Generate Fixes
- Each fix is generated, applied, and saved automatically
- Not what you wanted? Click Undo Fix or press
Cmd+Z/Ctrl+Z
- Click kipmox: 💡 Explain & Fix on a flagged line
- The fix is generated, applied, and saved automatically
- Not what you wanted? Click Undo Fix or press
Cmd+Z/Ctrl+Z
Switching modes
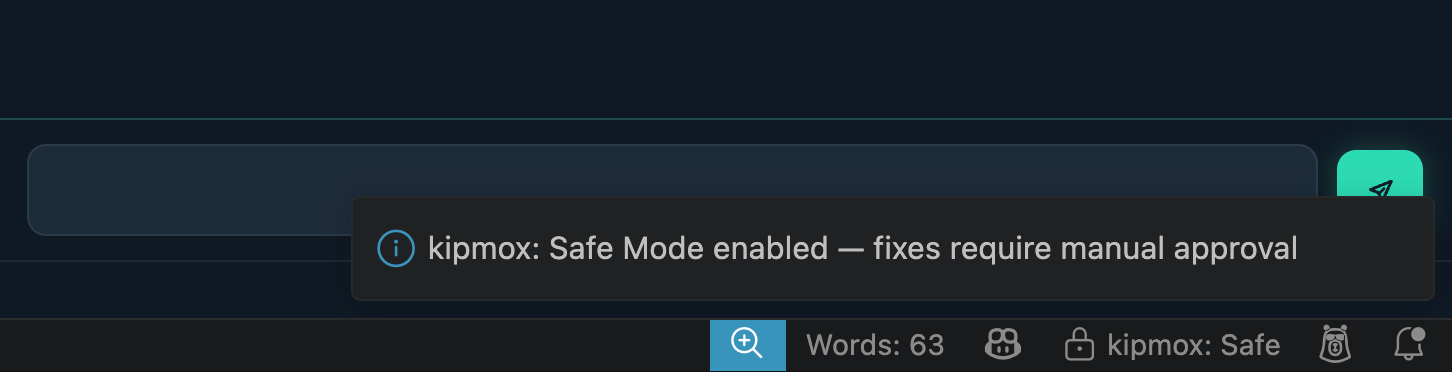
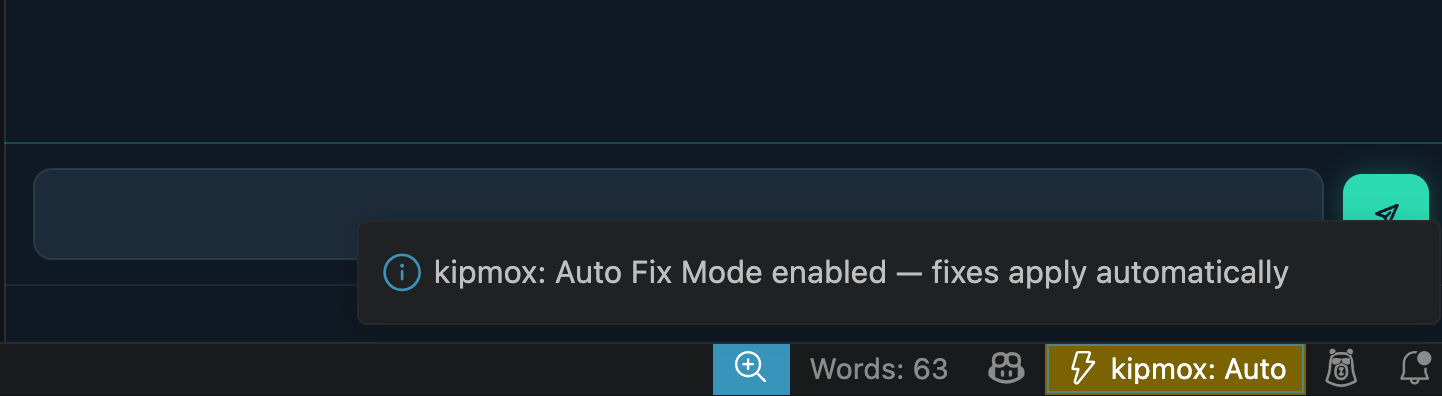
Switch modes two ways:- Status bar — click kipmox: Safe or kipmox: Auto at the bottom of the VS Code window.
- Command Palette — run kipmox: Toggle Safe Mode (
Cmd+Shift+P/Ctrl+Shift+P).
- Switching to Safe Mode: “kipmox: Safe Mode enabled — fixes require manual approval”
- Switching to Auto Fix Mode: “kipmox: Auto Fix Mode enabled — fixes apply automatically”
When to use each mode
Use Safe Mode when:- Working against a production org or any org with live users
- Applying fixes with a Medium or Low confidence rating
- Applying a fix that carries a risk note
- You want to understand every change before it goes into your code
- Working in a personal development sandbox
- Iterating quickly through multiple deploy-fix cycles
- All generated fixes are High Confidence and Safe fix rated
- You are familiar with the codebase and comfortable with automatic changes
Common issues
Mode toggle not appearing in the status bar
Mode toggle not appearing in the status bar
The kipmox mode toggle appears in the VS Code status bar at the bottom of the screen. If it is not visible, make sure kipmox is installed and active — open any supported file (
.cls, .trigger, .js, .html) to activate the extension. If it still doesn’t appear, run Developer: Reload Window from the Command Palette.Fix was applied before I could review it
Fix was applied before I could review it
You are in Auto Fix Mode. Click kipmox: Auto in the status bar to switch back to Safe Mode. If a fix was already applied that you want to revert, click Undo Fix in the notification or use
Cmd+Z / Ctrl+Z in the editor.How do I undo an applied fix?
How do I undo an applied fix?
Click Undo Fix in the notification, or press
Cmd+Z / Ctrl+Z. kipmox auto-saves when a fix is applied, but VS Code keeps undo history across the save, so you can always revert.Deploy to Org
Learn how fixes are generated and applied
Offline Mode
Run kipmox fully local with no internet connection