

Requirements
Before installing, make sure you have:- VS Code 1.85 or later
- Salesforce CLI (
sf) installed and authenticated - An active Salesforce org connection in VS Code
- For full code analysis (recommended): the Salesforce Code Analyzer plugin and Java 11+ — see Code Analysis → set up the Code Analyzer. Without them, kipmox uses its built-in rules and flags fewer issues.
Install kipmox
From the VS Code Marketplace
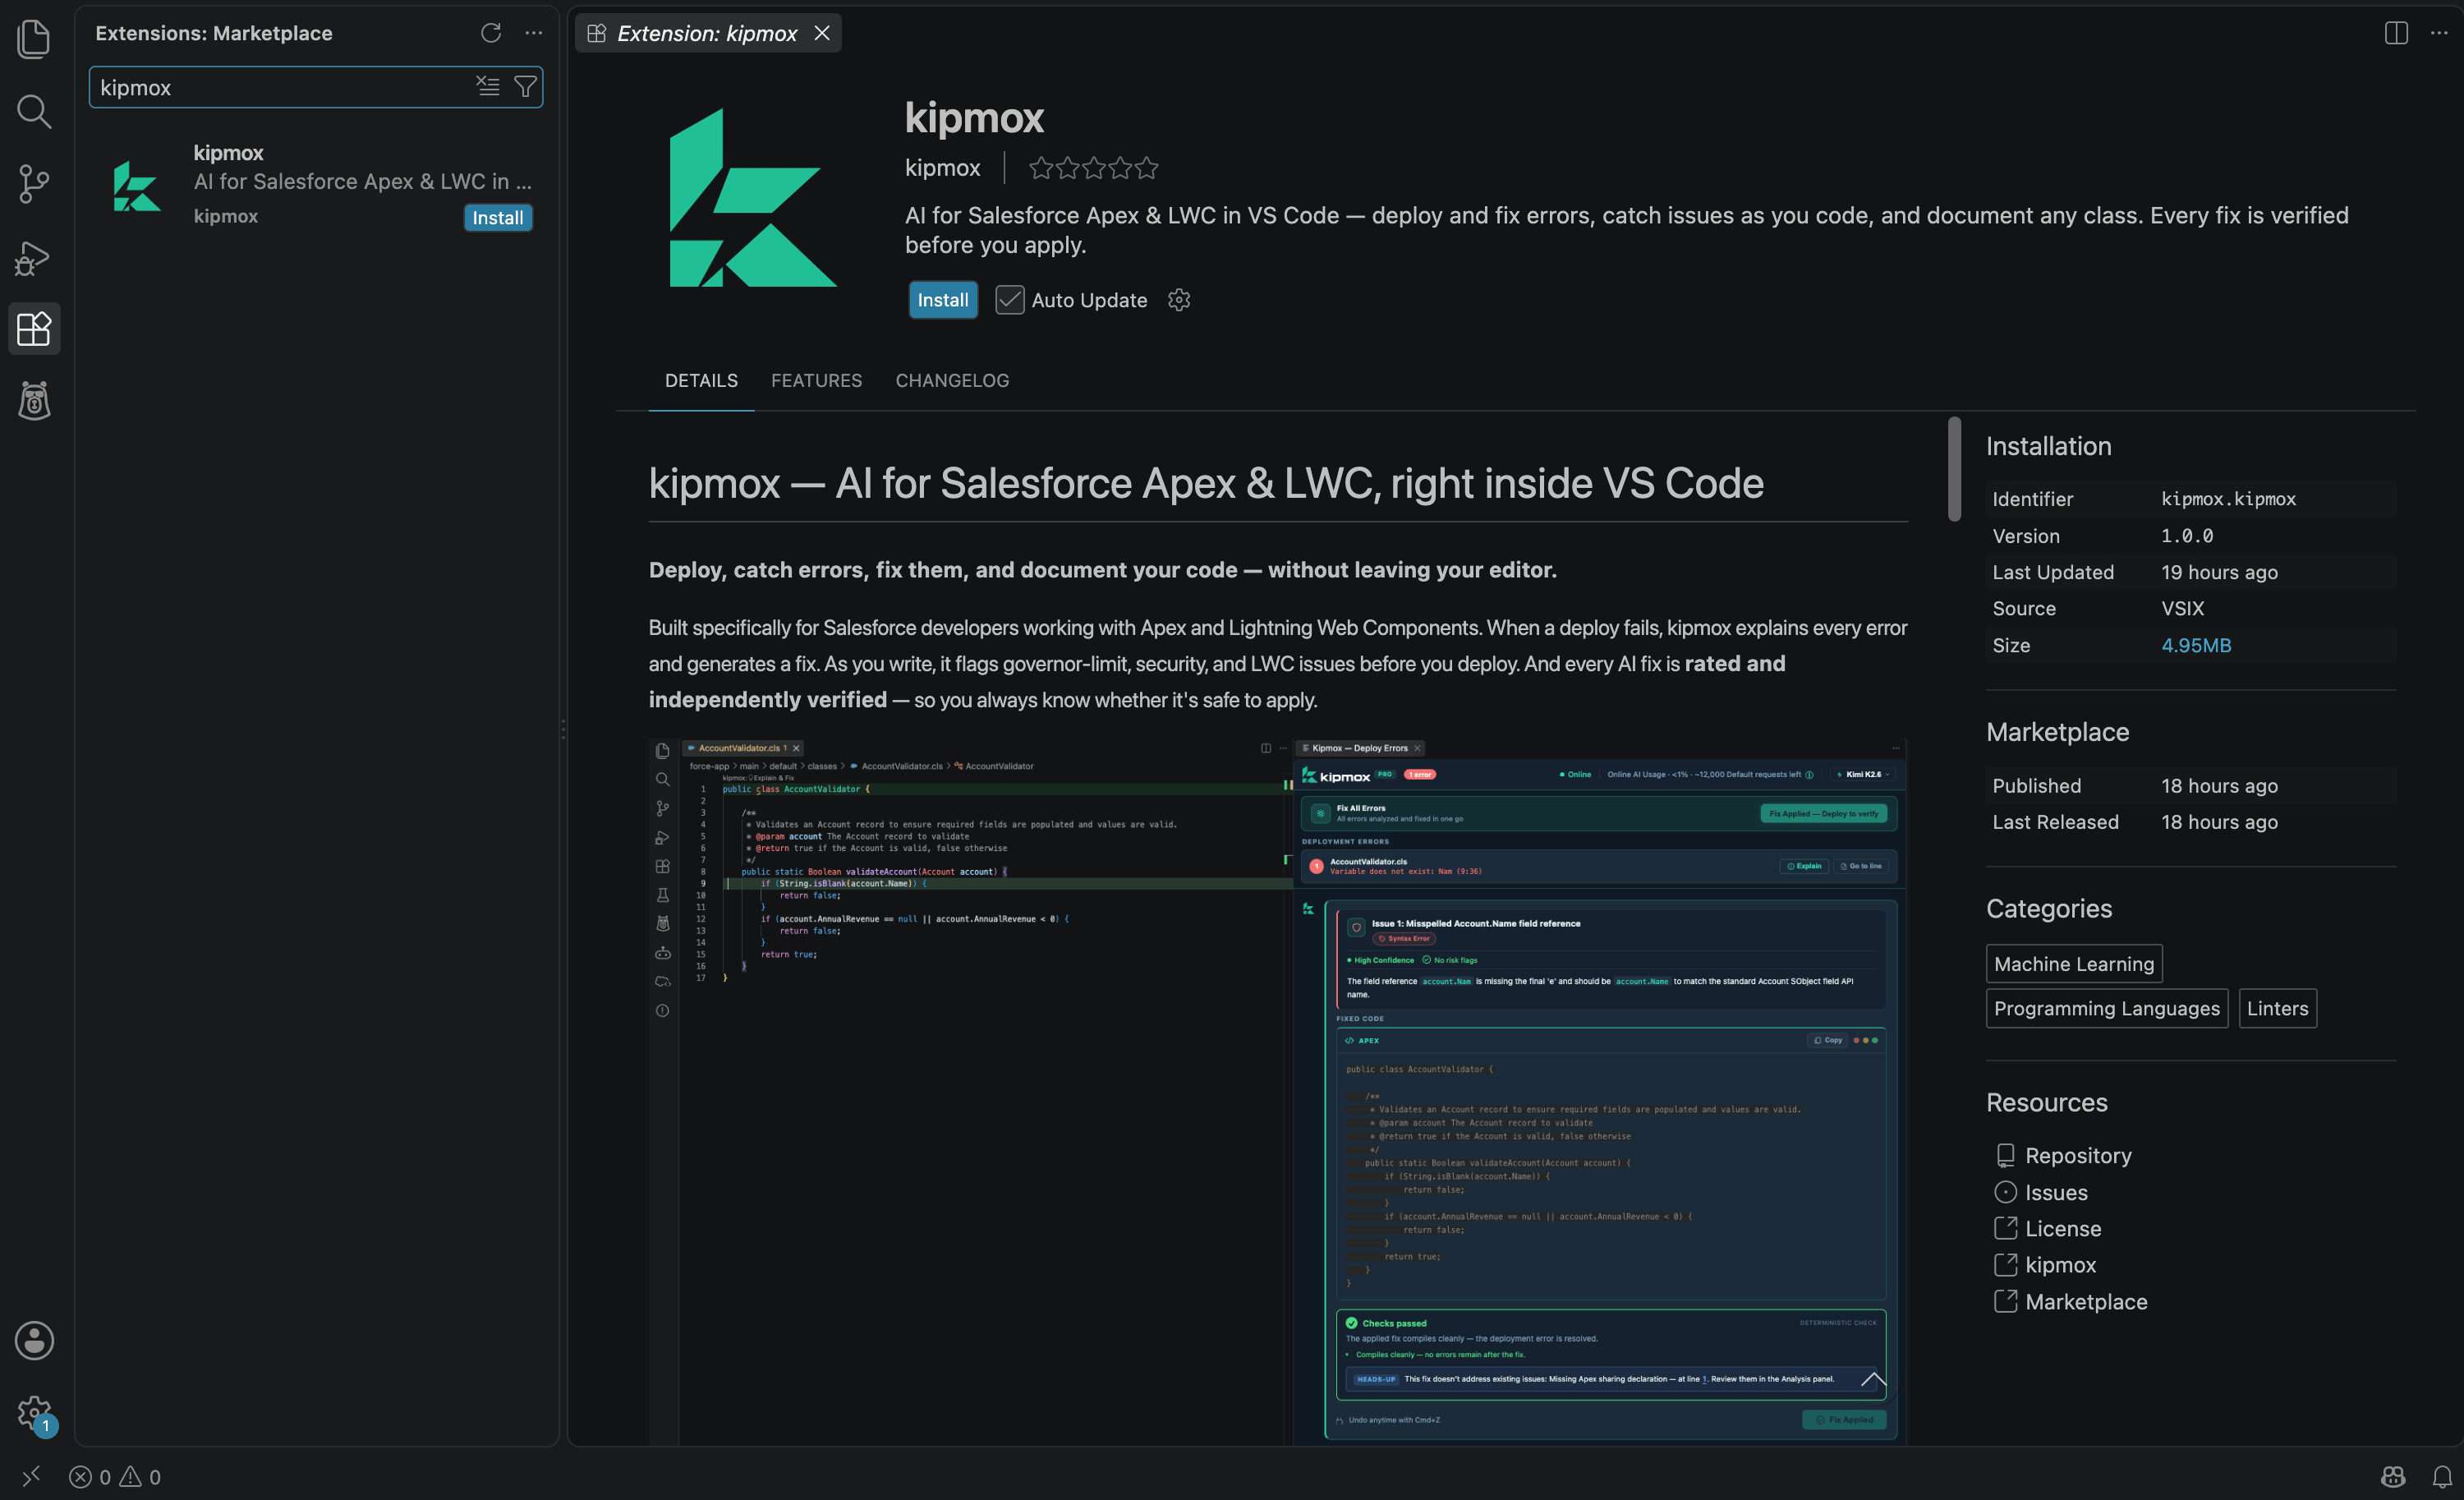
- Open VS Code
- Press
Cmd+Shift+X(Mac) orCtrl+Shift+X(Windows) to open the Extensions panel - Search for kipmox
- Click Install
From the terminal
Start using kipmox
No sign-in required to get started. Once installed, kipmox is ready immediately — open any Apex, trigger, or LWC file and run your first deployment fix or code analysis. Your first 2 requests are free with no account — these cover deployment fixes and code analysis. From the 3rd request, kipmox asks you to sign in with a magic link — no password needed. Generating a document (kipmox: Explain this code) needs a free account from the start — it isn’t part of the 2 no-account requests. Signing in is quick and free. Either way, you’re on the Free plan (15 fixes and 2 documents every 4 hours); an account just lets you keep going.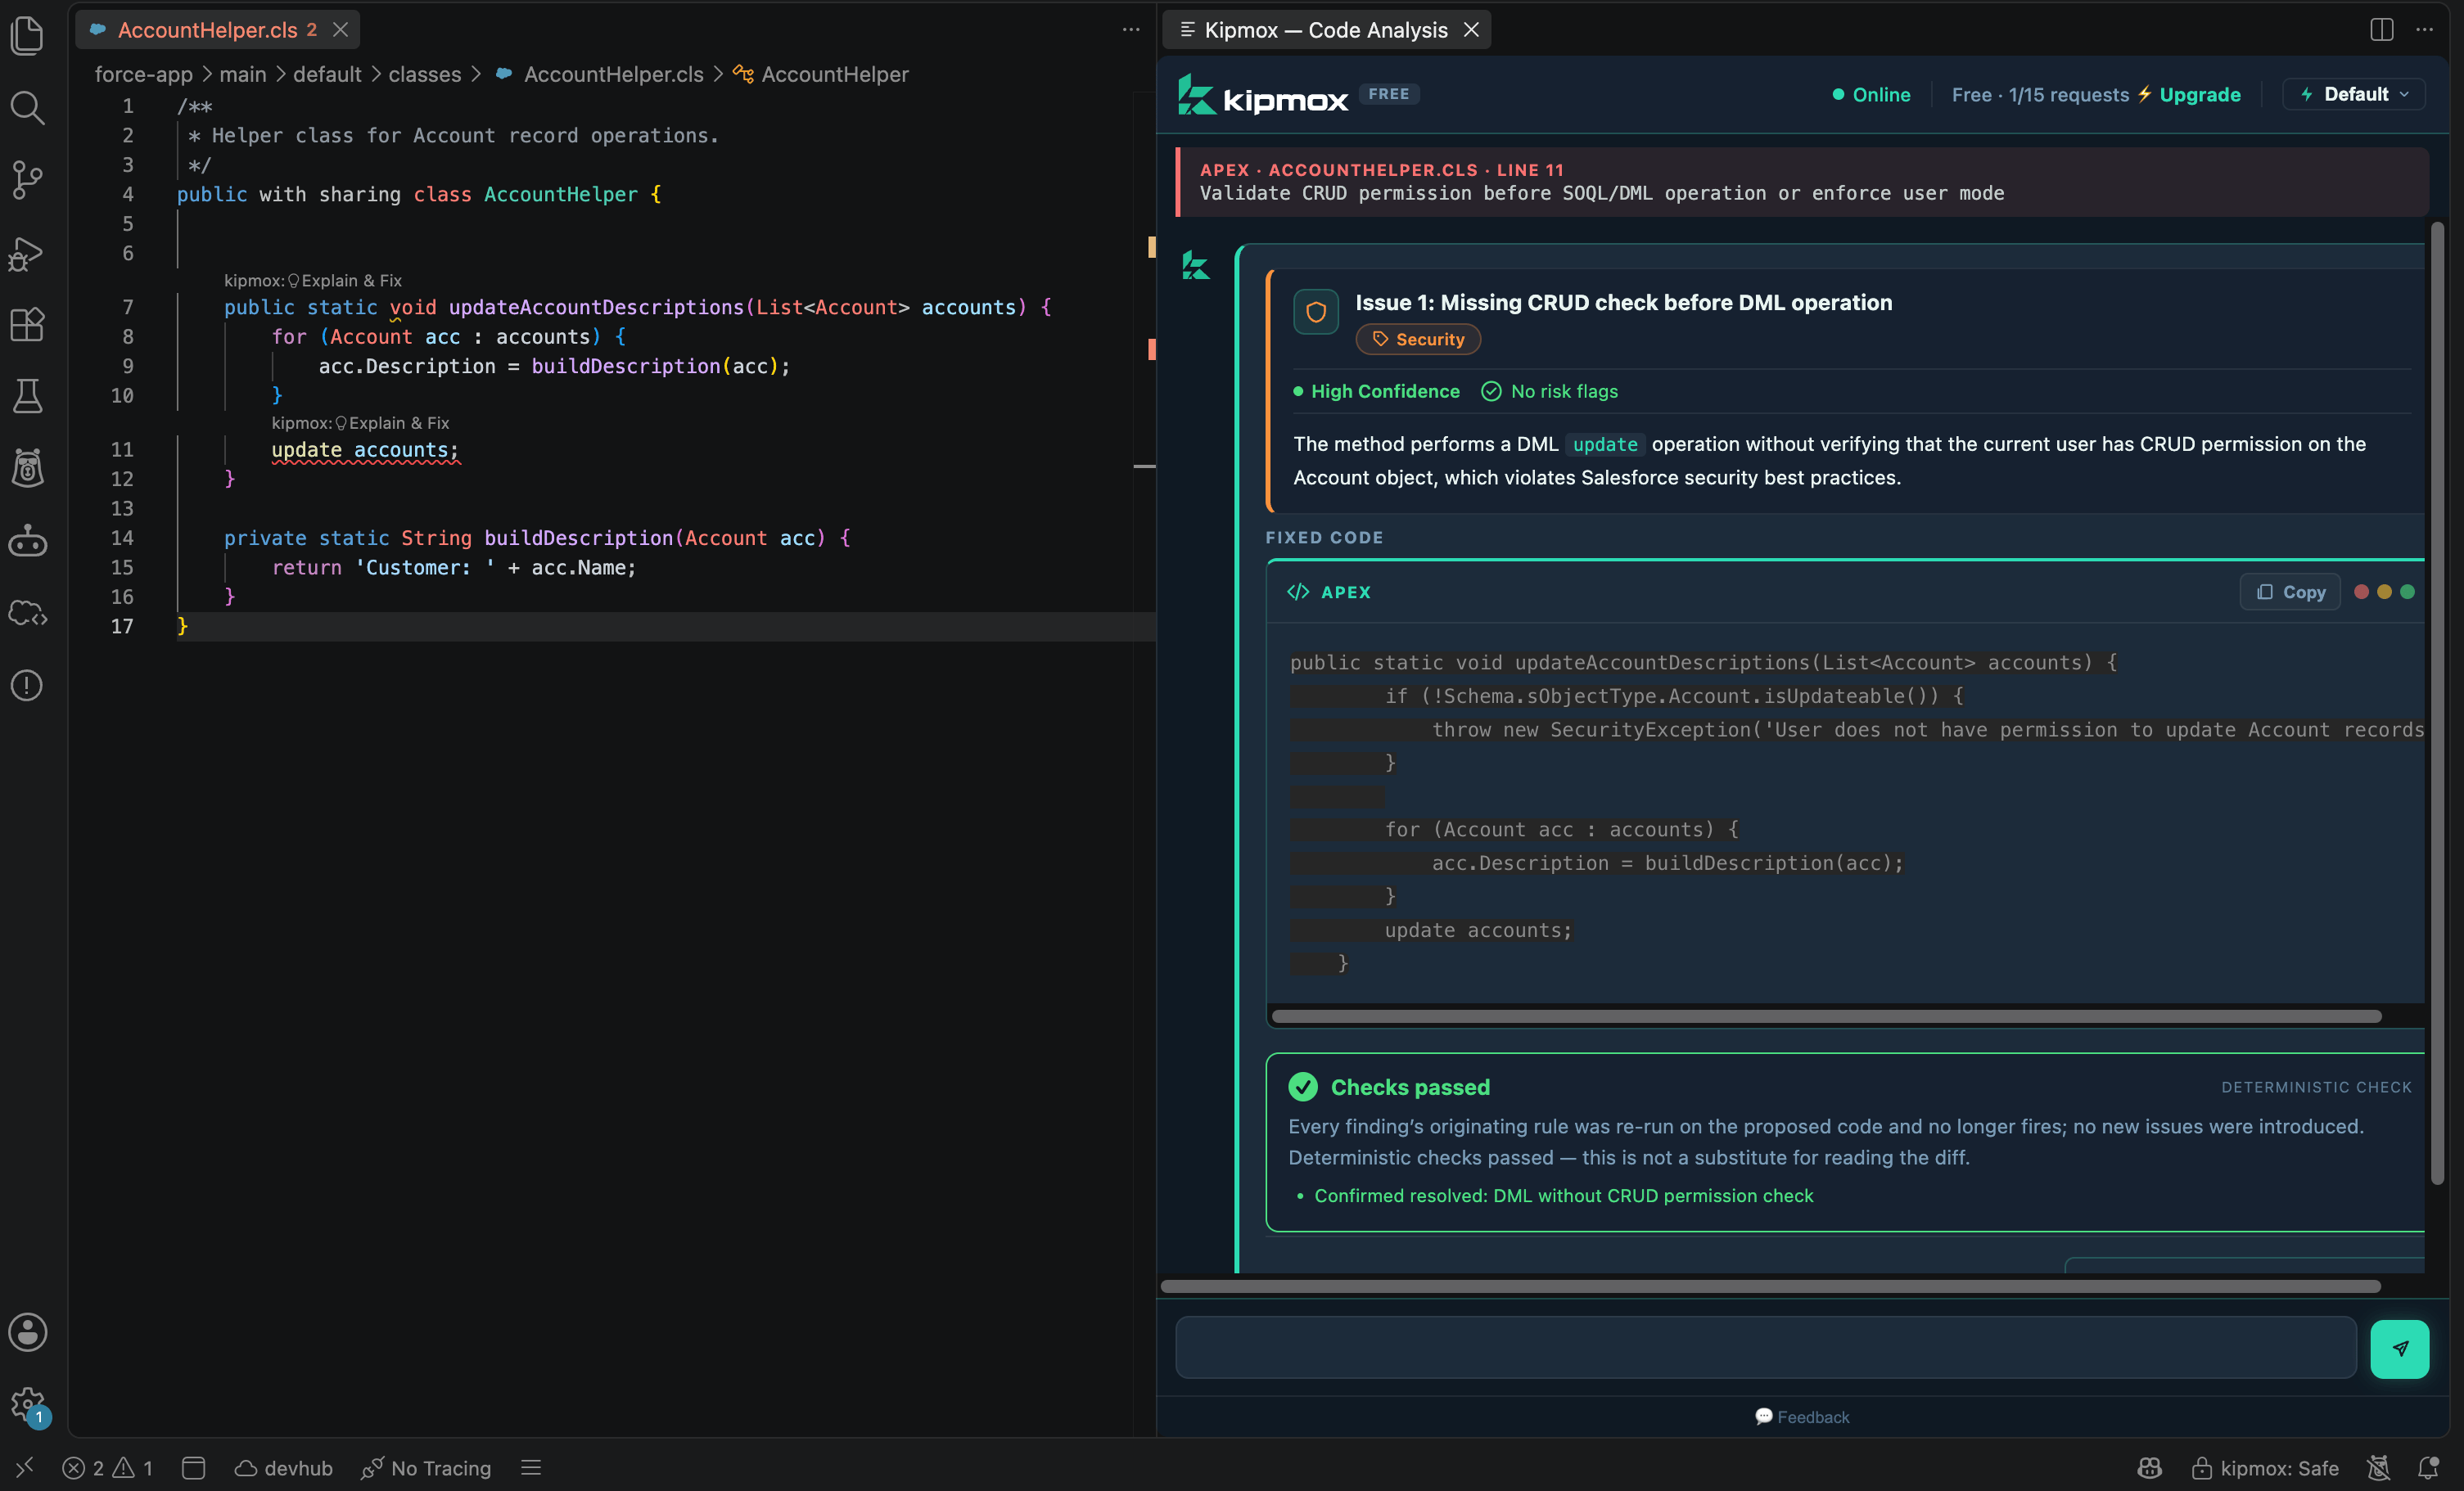
Sign in
From your 3rd request, kipmox prompts you to sign in. You can sign in from VS Code or from the website — either works, and your plan syncs across both. From VS Code (magic link)- Enter your email in the sign-in prompt and click Send Magic Link
- Open the email from kipmox and click the link — VS Code signs you in automatically
- Re-run your original request to continue
- Sign in at kipmox.com with your email
- Open VS Code from your account page to connect your session
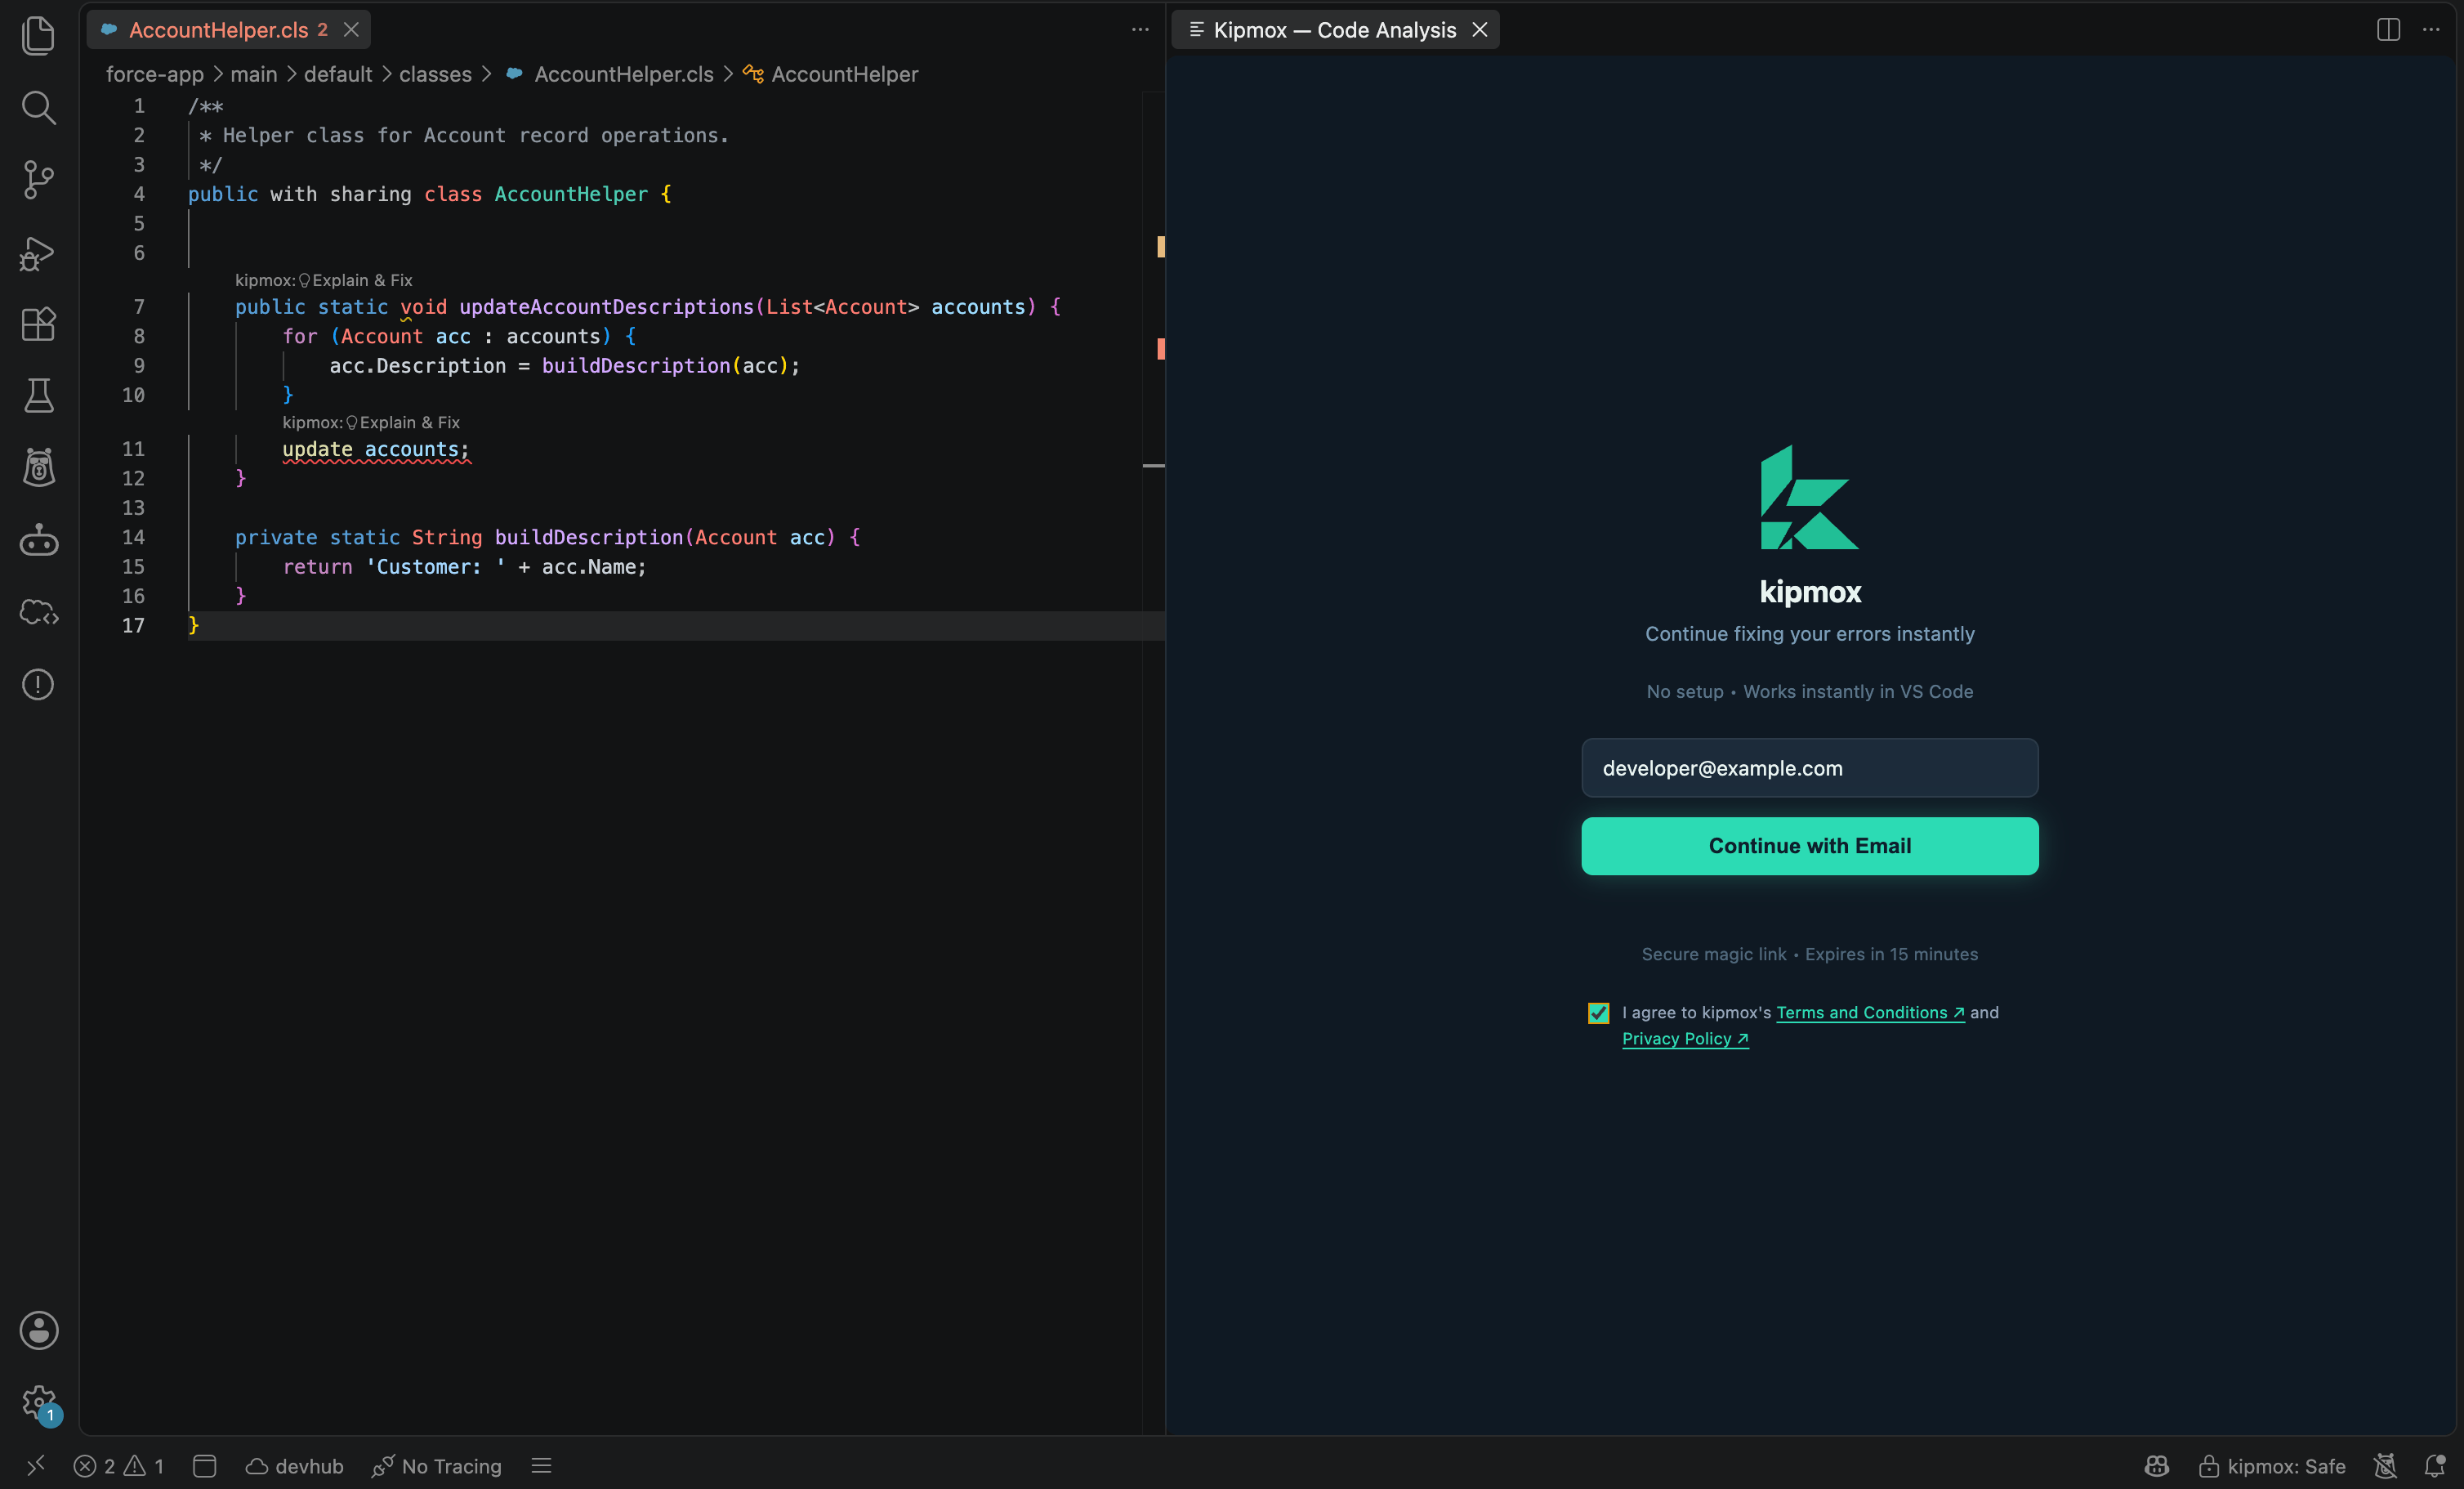
Once signed in, kipmox stays signed in. You will not be asked to sign in again.
The magic link expires after 15 minutes. If it expires, return to VS Code and request a new one.
Connect your Salesforce org
kipmox uses your active Salesforce CLI default org. To set one:- Look at the bottom status bar in VS Code
- Click the org name (or No Default Org Set)
- Select Authorize an Org if you haven’t connected one yet, or choose from your existing orgs
- Once set, the org name appears in the status bar — kipmox will deploy to that org
Make sure the correct org is active before deploying — kipmox always deploys to your current default org.
Common issues
Can't find kipmox in the Marketplace
Can't find kipmox in the Marketplace
In VS Code, open the Extensions panel (
Cmd+Shift+X / Ctrl+Shift+X) and search for kipmox. Make sure you’re online. If it still doesn’t appear, install it another way: run the terminal command above (code --install-extension …), or open the listing on the VS Code Marketplace in your browser and click Install — it opens VS Code and installs.Extension won't install or activate
Extension won't install or activate
- Confirm you’re on VS Code 1.85 or later (Code → About Visual Studio Code).
- After installing, run Developer: Reload Window from the Command Palette.
- Open a supported file (
.cls,.trigger,.js,.html) — kipmox activates on the first supported file you open. - Behind a corporate proxy or firewall, Go to VS Code Settings, search for http.proxy, and enter your company’s proxy URL to allow the extension to install automatically from the Marketplace..
kipmox icon not appearing in the Activity Bar
kipmox icon not appearing in the Activity Bar
The extension may not have activated yet. Try opening any
.cls, .trigger, .js, or .html file — kipmox activates when a supported file type is opened. If the icon still doesn’t appear, save the file once to trigger activation. If it’s still missing, run Developer: Reload Window from the Command Palette.Magic link email not arriving
Magic link email not arriving
Check your spam or junk folder. The email is sent from
auth@kipmox.com. If it’s not there after a few minutes, return to VS Code and click Send Magic Link again.Magic link opened the website instead of VS Code
Magic link opened the website instead of VS Code
This can happen if VS Code is not set as the default handler for
vscode:// links on your machine. Make sure VS Code is open before clicking the link, then try again.Sign-in prompt not appearing after 2 requests
Sign-in prompt not appearing after 2 requests
If the sign-in prompt doesn’t appear, reload VS Code with Developer: Reload Window from the Command Palette and try your action again.
Salesforce CLI not found
Salesforce CLI not found
kipmox requires the Salesforce CLI to be installed and available in your terminal PATH. Run
sf --version to verify. If it’s not installed, download it from developer.salesforce.com/tools/salesforcecli.Which files does kipmox work on?
Which files does kipmox work on?
kipmox activates on Salesforce source files: Apex classes and triggers (
.cls, .trigger) and Lightning Web Components (.js, .html). Open one of these to bring kipmox to life — it stays dormant for other file types.kipmox is deploying to the wrong org
kipmox is deploying to the wrong org
kipmox always deploys to your current default org. Check the org name in the VS Code status bar (bottom-left) and switch it before deploying — see Connect your Salesforce org above.
How do I update kipmox?
How do I update kipmox?
VS Code updates extensions automatically. To update now, open the Extensions panel (
Cmd+Shift+X / Ctrl+Shift+X), find kipmox, click Update if one is offered, then run Developer: Reload Window.Do I have to pay to install?
Do I have to pay to install?
No — kipmox is free to install and use. You get 2 requests with no account, then the Free plan (15 fixes and 2 documents every 4 hours) after signing in. Pro and Enterprise are optional upgrades.
Next — fix your first deployment error
See kipmox in action in under 2 minutes